TABLE OF CONTENTS
How to Make a Brewing Stand in Minecraft: Easy Guide
If you've hit a wall in Minecraft where mobs are destroying you, your food runs out too fast, or you simply can't push into the Nether without dying repeatedly — potions are the answer, and a brewing stand is where it all starts. Most players put this off because it feels complicated, but once you understand the full picture, it's one of the most powerful investments you can make in your world. This guide gives you everything: materials, crafting, setup, and the strategies veterans use that most tutorials skip entirely.
Why You Need a Brewing Stand (And When to Build One)
Potions are a force multiplier — brewing changes how the entire game feels.
Most players think potions are optional. They aren't. Once you hit mid-game — venturing into the Nether, fighting Endermen, taking on strongholds — the difference between having potions and not is often the difference between surviving and losing your inventory.
Here's what a brewing stand unlocks for you:
- Fire Resistance Potions — the single most important potion in the game. Fall into lava in the Nether? Without this, you lose everything.
- Strength Potions — dramatically increase melee damage for boss fights
- Healing & Regeneration Potions — sustain in long dungeons or raid farms
- Night Vision Potions — make deep mining and ocean exploration vastly more efficient
- Swiftness Potions — speed up travel and make combat more fluid
- Invisibility Potions — skip hostile mob encounters entirely
- 1 Blaze Rod
- 3 Cobblestone (or Blackstone, or any stone variant)
- Build a Nether portal (10 obsidian, flint and steel)
- Enter the Nether and locate a Nether Fortress (look for dark brick structures — travel in the X or Z axis direction, not Y)
- Engage Blazes — they float, shoot fireballs, and spawn from Blaze Spawners inside the fortress
- Each Blaze drops 0–1 Blaze Rods on death (Looting III sword increases this significantly)
- Collect at least 1 rod for the stand; collect 10+ if you want a real potion supply
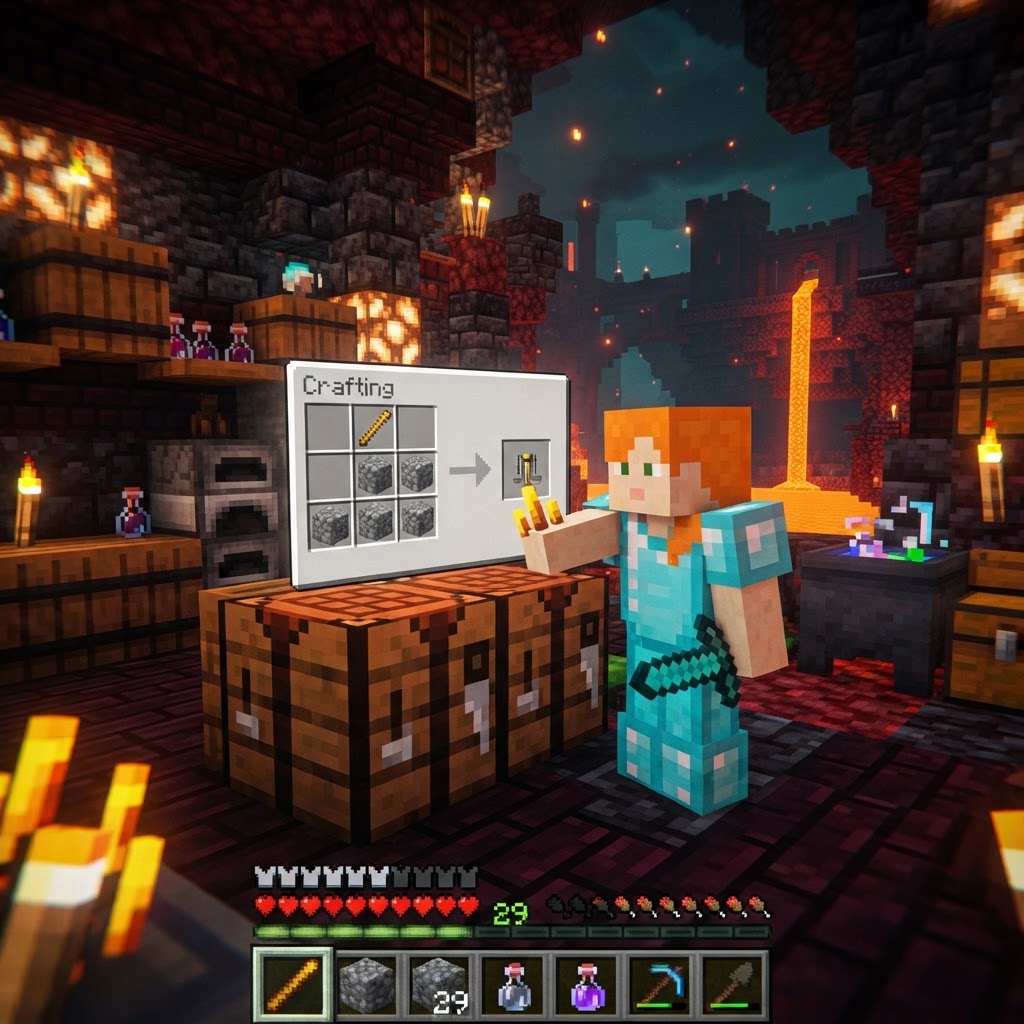
- Open your Crafting Table (3x3 grid required — your inventory crafting won't work)
- Place 1 Blaze Rod in the center cell of the top row (row 1, column 2)
- Place 3 Cobblestone across the entire bottom row (row 3, columns 1, 2, and 3)
- The brewing stand will appear in the result slot
- Drag it into your inventory
- Blaze Powder (crafted from Blaze Rods — 1 rod = 2 powder) — this is the fuel for the brewing stand
- Glass Bottles (3 glass in a V-shape on a crafting table) — your potion containers
- Water — right-click a water source or cauldron with glass bottles to fill them
- Nether Wart — the base ingredient for almost every useful potion (found in Nether Fortresses)
- You need 1 Blaze Rod + 3 Cobblestone to craft it at a crafting table
- The blaze rod comes from Blazes in Nether Fortresses — prepare properly before going
- The stand needs Blaze Powder as fuel — don't forget to fill the fuel slot
- Your first priority potions are Fire Resistance, then Healing, then Strength
- Build a proper station with storage, water access, and a Nether Wart farm nearby
- Always brew in sets of 3, extend with Redstone, and convert to splash potions for maximum efficiency
The ideal time to build your first brewing stand is right after you've established a stable base and made your first Nether portal. Don't wait until you "need" it — by then, you'll already be dead.
Materials You Need and Where to Get Them
The blaze rod is the gatekeeper — everything else is easy.
To craft a brewing stand, you need exactly two types of materials:
Simple recipe, but that blaze rod is a real barrier for new players. Here's how to approach each material:
Getting Cobblestone
This is the easiest part. Mine any stone with a pickaxe and you get cobblestone. You need 3 pieces. That's it. Alternatively, Blackstone from the Nether works as a direct substitute in the recipe.
Getting a Blaze Rod
This is where players get stuck. Blaze rods only drop from Blazes, which spawn in Nether Fortresses. Here's the step-by-step path:
Alternative: Finding a Pre-Built Brewing Stand
Brewing stands generate naturally in Igloos (with basements), End Ships (in End Cities), and Witch Huts. If you find one of these, you can skip crafting entirely — but you still need blaze rods to actually use it for brewing.
How to Craft the Brewing Stand
Three clicks and you're done — here's exactly how it works.
Once you have your materials, crafting is straightforward:
| Crafting Grid Position | Item |
|---|---|
| Top-left | Empty |
| Top-center | Blaze Rod |
| Top-right | Empty |
| Middle-left | Empty |
| Middle-center | Empty |
| Middle-right | Empty |
|---|---|
| Bottom-left | Cobblestone |
| Bottom-center | Cobblestone |
| Bottom-right | Cobblestone |
Setting Up Your Brewing Station the Right Way
A brewing stand alone isn't enough — here's the full setup that actually works.
A lone brewing stand is only half the picture. To brew potions efficiently, you need a proper station with supporting blocks:
The Essential Brewing Station Components
| Block | Purpose | Required? |
|---|---|---|
| Brewing Stand | Core crafting block | Yes |
| Chest | Store ingredients and finished potions | Strongly recommended |
| Cauldron | Holds water for filling bottles (pre-1.13 or for efficiency) | Optional |
| Water Source / Bucket | Fill glass bottles | Yes |
| Furnace | Smelt Nether Wart isn't needed, but for crafting other base items | Situational |
What You Need to Start Brewing
| Barrels or Shelves | Organization for large ingredient libraries | Optional |
|---|
Before your first brew, gather these base materials:
Fueling the Brewing Stand
This is something players constantly miss — the brewing stand needs Blaze Powder as fuel, not just blaze rods. Each piece of blaze powder fuels 20 brewing operations. Open the stand, and you'll see a fuel slot on the left side. Fill it before you start.
Common Mistakes Players Make
These errors waste your time, your materials, and sometimes your life.
1. Going to the Nether completely unprepared
Players rush to get a blaze rod with stone tools and no armor. Blazes hit hard and set you on fire. Bring full iron armor minimum, a shield, and enough food to sustain through the fortress.
2. Forgetting Blaze Powder as fuel
The most common mistake. Players craft the stand, try to brew, nothing happens. You must add blaze powder to the fuel slot. The stand won't work without it.
3. Not collecting Nether Wart during the fortress run
You go all the way to a Nether Fortress and come back with blaze rods but no Nether Wart. Nether Wart grows in soul sand patches inside fortresses. Grab it all and bring soul sand blocks home so you can farm it.
4. Using the wrong bottle state
You need water-filled glass bottles to make potions. Empty bottles do nothing. Right-click a water source block with your empty bottles first.
5. Building the stand in an inconvenient location
Don't just place it anywhere. Build your brewing station near your storage, your farm, and ideally near a Nether portal. Potion making requires multiple ingredients — walking across your base every time gets old fast.
Pro Strategies for Advanced Brewers
Once you know the basics, these techniques separate efficient players from everyone else.
Stack Brew in Groups of 3
The brewing stand has 3 potion slots. Always brew 3 at a time. Never waste a brewing operation on a single potion — this triples your output for the same fuel and ingredient cost.
Farm Nether Wart at Home
During your first fortress run, collect Nether Wart AND the soul sand it grows on. Plant a Nether Wart farm in your base (it grows in any dimension as of recent versions). This removes the need for repeated Nether runs just for base ingredients.
Use Looting III for Blaze Rods
A Looting III sword on Blazes can yield up to 4 rods per kill. This dramatically increases your blaze powder supply per trip. Enchant a sword before your fortress runs once you have an enchanting table.
Automate with Hoppers
On Java Edition, hoppers can feed ingredients into brewing stands and extract finished potions. A simple hopper-and-chest system below your stand auto-collects potions, and a hopper above can feed ingredients in sequence. This is the foundation of a fully automated potion farm.
Extend Potions with Redstone
Adding Redstone Dust to any potion in the brewing stand doubles its duration. For potions like Fire Resistance and Swiftness that you use over long stretches, this is almost always worth doing instead of making more individual potions.
Convert to Splash Potions for Versatility
Add Gunpowder to any potion to make it throwable. This is essential for: healing yourself at range, applying Weakness to zombie villagers for curing, and PvP. Always keep a stack of gunpowder near your brewing station.
Key Takeaways: Your Brewing Stand Roadmap
Building a brewing stand is a pivotal moment in any Minecraft playthrough — it's the transition from reactive survival to proactive domination. Here's the complete picture in brief:
The players who master brewing early are the ones who sail through the Nether, take on the Ender Dragon with confidence, and rarely lose gear to surprise encounters. Get your brewing stand built, get your station stocked, and start turning Nether resources into power.
RELATED ARTICLES
How to Make a Brewing Stand in Minecraft: Recipe & Uses
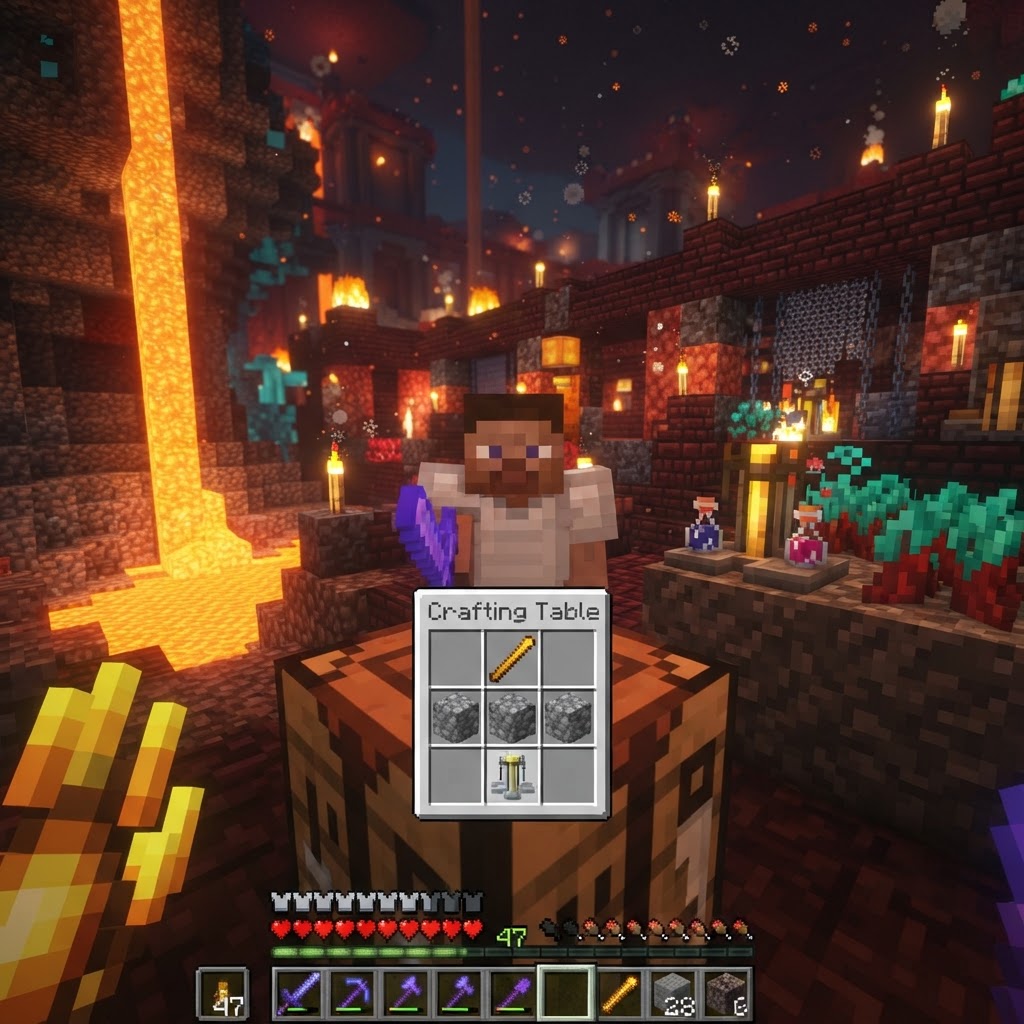
If you've hit a wall in Minecraft — mobs are one-shotting you, your armor feels useless, and the End seems impossible — a brewing stand is the tool that changes everything. Potions transform your surv...
How to Make Glass in Minecraft: A Complete Smelting Guide
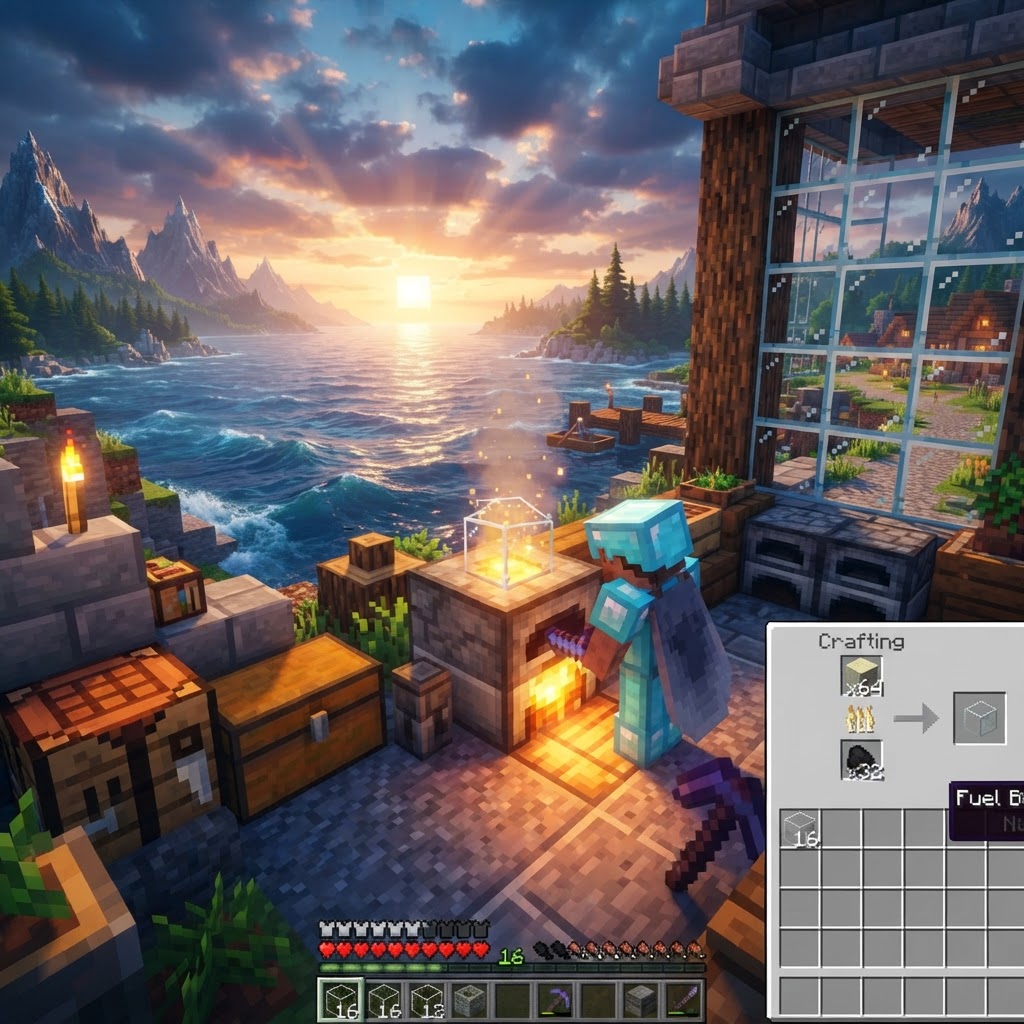
Glass is one of those crafting staples that looks simple on the surface but hides a surprising number of ways to go wrong — and a lot of creative potential most players never tap. Whether you're build...
How to Get Blaze Rods in Minecraft: Find and Farm Blazes
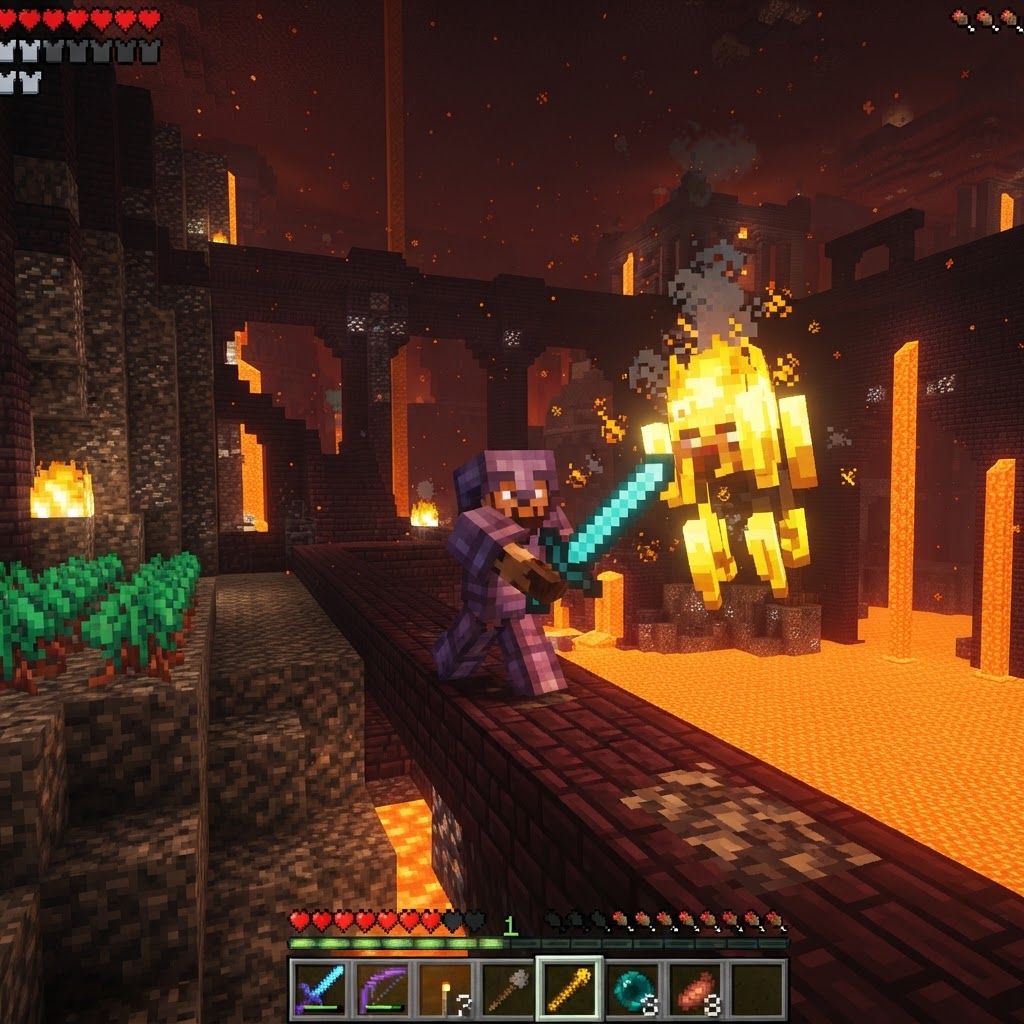
Blaze rods are one of the most critical bottlenecks in Minecraft progression — without them, you can't brew potions, reach the End, or craft Eyes of Ender. Most players die repeatedly trying to get th...
STAY UPDATED
New blog posts, guides, and community tips delivered to your inbox.
No spam. Unsubscribe anytime.
Comments (0)
No comments yet. Be the first to share your thoughts!

