What Are Minecraft Texture Packs?
Resource packs that replace the game's visuals without touching gameplay
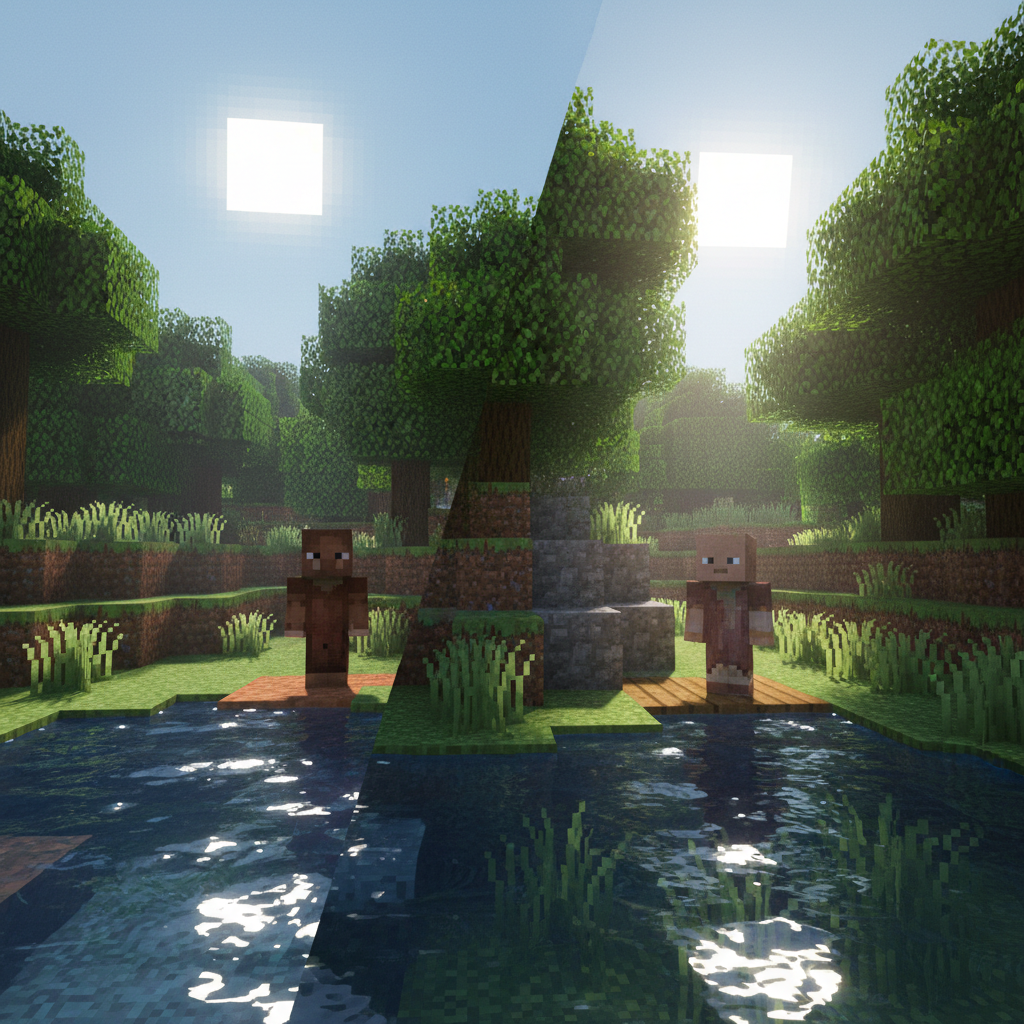
Texture packs — officially called resource packs since Minecraft 1.6 — replace the game's default artwork with custom images. Every block, item, mob, UI element, and sky can be changed. Unlike mods, resource packs don't touch game mechanics — they're purely visual, which means they're safe, stable, and easy to toggle on and off.
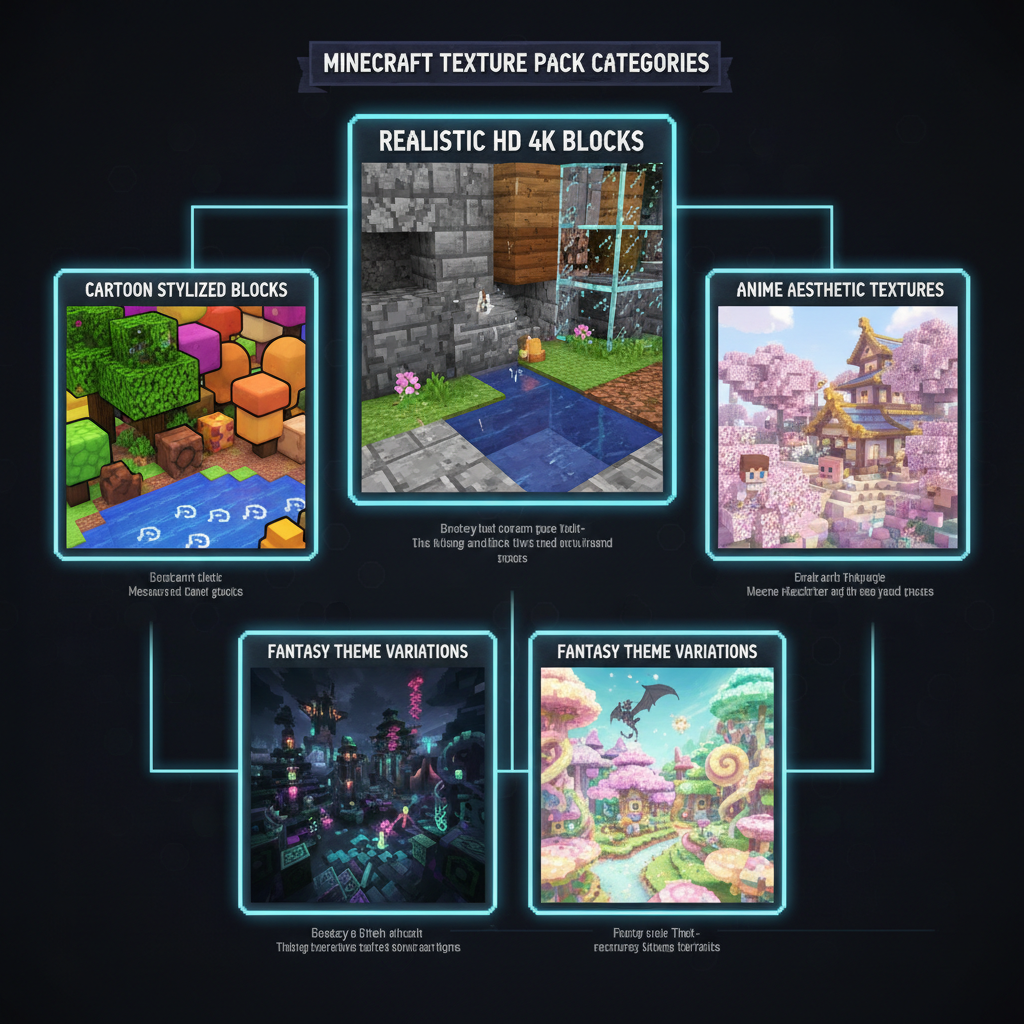
The range of what's possible is enormous. Packs at 16x resolution (the vanilla default) can completely change the art style — from cartoon to photorealistic — without any performance cost. Packs at 256x or higher add extraordinary detail but demand a powerful GPU.
Purely visual
No gameplay changes. Texture packs work alongside any mods and don't affect saves, multiplayer, or world data.
Instant toggle
Switch packs in-game without restarting. Test multiple packs in minutes from the Options → Resource Packs menu.
Stackable
Multiple packs can be active at once. Higher packs in the list take priority, enabling hybrid visual setups.
How to Install a Texture Pack
Works for Java Edition — takes about 60 seconds
Java Edition
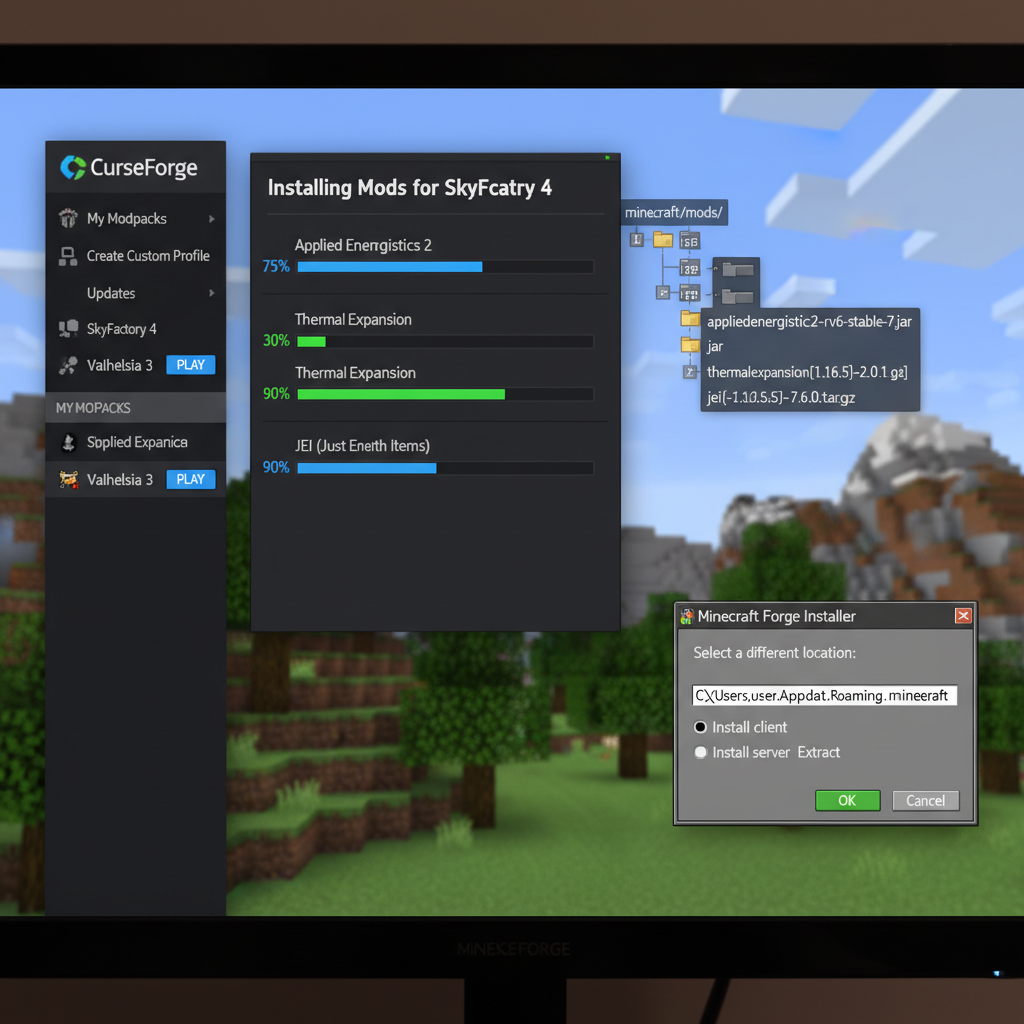
Download the resource pack
Get the .zip file from CurseForge, Planet Minecraft, or Modrinth. Don't unzip it — Minecraft reads it as a .zip.
Open the Resource Packs folder
In Minecraft, go to Options → Resource Packs → Open Pack Folder. This opens your .minecraft/resourcepacks/ directory.
Drop in the .zip file
Paste or drag your downloaded .zip directly into the resourcepacks folder. Close the folder.
Activate the pack
Back in Minecraft, click the refresh icon (or close and reopen the Resource Packs menu). Your pack appears on the left. Click the arrow to move it to the right (active) column.
Hit Done and enjoy
Minecraft applies the pack instantly — no restart needed. Switch worlds or just look around to see the changes.
Bedrock Edition
Bedrock resource packs use a .mcpack file format. Double-clicking one automatically imports it into Minecraft on Windows and Xbox. On mobile, you can import via the Minecraft app's built-in file picker. Activate packs per-world in the world's settings, or globally in Settings → Global Resources.
Download packs only from CurseForge, Planet Minecraft, or Modrinth. Unofficial download sites often bundle adware or malware inside .zip files. If a site requires you to complete surveys or install software to get the pack, leave immediately.
Top Texture Packs to Download in 2026
Curated picks across every style — click any pack for its full guide
Choosing the Right Resolution
Higher resolution = more detail, but also more VRAM and GPU load
| Resolution | Best For | VRAM Needed | Notes |
|---|---|---|---|
| 16x (Default) | Any hardware | < 2 GB | Vanilla resolution. Style packs at 16x have zero perf cost. |
| 32x | Any hardware | < 2 GB | Slightly more detail. Still runs great on integrated graphics. |
| 64x | Mid-range PCs | 2–4 GB | Noticeably better quality. The sweet spot for most players. |
| 128x | Dedicated GPU | 4–6 GB | High detail. Some frame drops expected without OptiFine. |
| 256x+ | High-end GPU | 6–8 GB+ | Near-photorealistic. Requires RTX 3060+ for smooth gameplay. |
Resolution alone doesn't define quality. A beautifully crafted 16x pack with consistent art direction will look far better than a lazy 128x pack. Focus on art style first, resolution second.
Shaders: The Perfect Companion
Shaders add lighting, shadows, reflections — the visual upgrade texture packs can't do alone
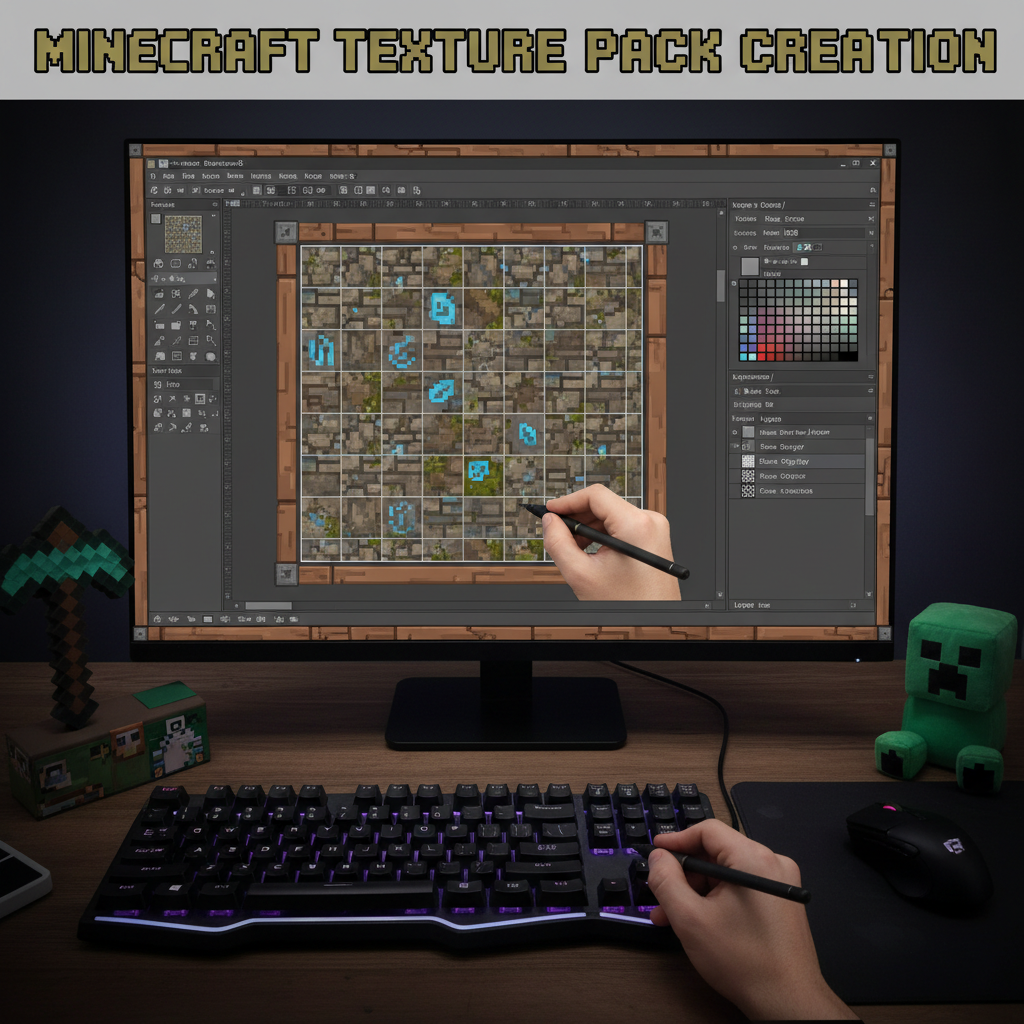
Texture packs replace artwork. Shaders change how that artwork is lit. Together they transform Minecraft into something that barely resembles its blocky origins. Shaders add:
Complementary Reimagined
The most popular shader for a reason — beautiful vanilla-plus aesthetics, soft shadows, and excellent performance balance. Recommended as a default choice.
BSL Shaders
Warm, vibrant colors with lush volumetric clouds and water reflections. Highly configurable — tailor it to your exact hardware and aesthetic.
SEUS Renewed
Crisp, high-quality rendering with realistic shadows and PBR (physically-based rendering) support. GPU-intensive but delivers jaw-dropping results.
Sildur's Vibrant
Multiple quality presets from Lite to Extreme. The Lite version runs on virtually anything; Extreme rivals SEUS. Best for mixed-hardware groups.
Iris Shaders (loader)
Iris isn't a shader but a shader loader for Fabric — it makes existing shaders run significantly faster than OptiFine. Use with any compatible shader pack.
How to install shaders
Install OptiFine or Iris
OptiFine works with Forge. Iris is a Fabric mod. Both let you load shader packs. Download from optifine.net or irisshaders.dev.
Download a shader pack
Get a .zip from the shader's official page (e.g. complementary-reimagined.com). Keep it as a .zip — don't extract.
Open the Shader Packs folder
In Minecraft: Options → Video Settings → Shaders → Open Shaders Folder. Paste your .zip there.
Select the shader
Back in the Shaders menu, click your pack name to activate it. Adjust quality presets if available.
Don't combine OptiFine with Sodium — they're incompatible and will crash. Use OptiFine + Forge, or Iris + Fabric/Sodium. Not both.
▶ Watch on YouTube
How to install shaders and texture packs together in Minecraft
Stacking Multiple Packs
Build a custom visual setup by layering packs in priority order
Minecraft loads resource packs in priority order — packs higher in your active list override packs lower down. If pack A has a custom grass texture and pack B doesn't, pack A's grass is used. This lets you mix and match: a high-res base pack, a GUI-only pack, and a mob-only pack can all be active simultaneously.
Example layered setup
If two packs conflict on the same texture, the higher pack wins. Drag packs up and down in the active list to control priority. Changes apply without restarting.
Creating Your Own Texture Pack
You don't need to be an artist — start with one block at a time
Custom resource packs require no coding — just image editing. Every texture in Minecraft is a small .png file organized in a specific folder structure. You replace the files you want changed, bundle them in a .zip with a pack.mcmeta descriptor file, and Minecraft loads it.
What you'll need
- Image editor — Aseprite ($20, pixel art focused), GIMP (free), or Photoshop. Aseprite is highly recommended for Minecraft work.
- Default pack template — Export the vanilla textures from Minecraft itself: go to Resource Packs → Edit → Open Pack Folder with the vanilla pack.
- pack.mcmeta file — A small JSON file that tells Minecraft your pack's format version and description. Required for the pack to appear in-game.
Getting started
Copy the vanilla textures
Extract minecraft.jar (inside .minecraft/versions/) and find the assets/minecraft/textures folder. Copy it as your starting point.
Edit one texture to learn the process
Pick a simple block like stone or dirt. Open the .png in Aseprite, change a few pixels, save, and reload in Minecraft to see the change.
Create pack.mcmeta
In the root of your pack folder, create a file named pack.mcmeta with the format version for your Minecraft version (check the Minecraft Wiki for the right number).
Zip and test
Select all files in your pack folder (not the folder itself) and zip them. Drop the .zip into resourcepacks/ and activate in-game.
Share it
Upload to Planet Minecraft or CurseForge. Include comparison screenshots showing before/after. A clear description with your style and Minecraft version gets more downloads.
The Minecraft Wiki (wiki.gg/minecraft) has a complete resource pack format reference — including all file paths, animation frame formats, and the exact pack.mcmeta syntax for every Minecraft version.
This Month's Pack Picks
REFRESHED 2026-10Best New Texture Packs — October 2026
October 2026 has been a strong month for the Minecraft texture pack community, with several standout releases landing just ahead of the holiday build season. Whether you're running a high-end rig or a mid-range laptop, there's something fresh worth downloading this month.
Ashwood Realism 1.4 leads the pack for players chasing photorealistic aesthetics. This 512x release got a major overhaul this month, adding PBR material maps for nearly every stone and wood variant, making it pair beautifully with modern shader pipelines. The team also addressed long-standing complaints about overly dark cave textures.
Luminos Craft 2.0 is a 128x semi-realistic pack that launched out of beta this month. It strikes a balance between vanilla readability and modern polish, making it excellent for survival players who want visual upgrades without losing the classic Minecraft feel. Mob textures were completely redrawn and are a particular highlight.
NeonByte Pixel is a 16x stylized pack that leans hard into a synthwave aesthetic — glowing ore veins, neon-tinted foliage, and a retrofuturistic UI skin. It's surprisingly light on performance and is gaining popularity in the PvP and creative communities.
Terracotta Dreams 3.1 is a 256x pack focused entirely on building blocks, making it a favorite for architects. This update adds 40 new decorated clay and brick variants with hand-painted detail that holds up even at close range.
Hollow Forest HD is a 64x nature-focused pack with some of the best-looking leaf, grass, and water textures available this month. Fully CTM-enabled and optimized for Iris.
| Pack Name | Resolution | Style | FPS Impact |
|---|---|---|---|
| Ashwood Realism 1.4 | 512x | Photorealistic | High |
| Luminos Craft 2.0 | 128x | Semi-Realistic | Low–Medium |
| NeonByte Pixel | 16x | Stylized / Synthwave | Minimal |
| Terracotta Dreams 3.1 | 256x | Architectural | Medium |
| Hollow Forest HD | 64x | Nature / Organic | Low |
All five packs are available on Modrinth and CurseForge. Links are verified as of October 15, 2026. Always download from official creator pages to avoid modified files.
---
Shader Spotlight This Month
Three shader packs are worth your attention in October 2026, each serving a different type of player and hardware tier.
Photon Shaders v1.9.2 continues to be the gold standard for players who want cinematic visuals without completely sacrificing frame rates. This month's update introduces volumetric fog density sliders, improved cloud layering at high altitudes, and a revised ambient occlusion system that makes interior spaces feel dramatically more atmospheric. Photon runs best on mid-to-high-end hardware — an RTX 3070 or RX 6800 XT is the recommended baseline for 1080p at stable 60fps. It's fully compatible with Iris 1.8 and GLSL Shaders Mod. Java Edition 1.22.1 is officially supported.
Complementary Reimagined r5.4 remains the community's most versatile all-rounder. The October patch focused heavily on nether and end dimension rendering, which have historically been weak points for this pack. The new emissive lighting pass for nether biomes is genuinely impressive. Complementary Reimagined runs well on mid-range cards — an RTX 3060 or RX 6700 handles it comfortably. It supports both OptiFine 1.22 HD U J3 and Iris 1.8, giving it broader compatibility than most competitors.
> [TIP:] If you're using Complementary Reimagined with a texture pack that includes PBR maps (like Ashwood Realism 1.4), enable the Resource Pack PBR option in Complementary's shader settings menu. This unlocks specular and normal map rendering and makes a massive visual difference — it's off by default to protect performance on lower-end machines.
MiniShade Lite 3.0 is the pick for players on integrated graphics or older dedicated cards. Don't let the name fool you — it delivers soft shadows, basic water reflections, and subtle sky color grading without tanking performance. On a Steam Deck or a machine running Intel Iris Xe, MiniShade Lite holds a playable 40–55fps at medium render distances. The October update fixed a color banding bug that affected sunset scenes in desert biomes. Compatible with Iris 1.8 only — no OptiFine support is planned.
---
Compatibility Notes for October 2026
With Minecraft Java Edition 1.22.1 now the current stable release following the 1.22 "Deep Horizons" update, compatibility has shifted in a few important areas. Here's what you need to know before updating or downloading anything new this month.
Minecraft Version Support
All five packs highlighted in this month's texture section are confirmed compatible with Java 1.22.1. Bedrock Edition players on version 1.22.3 should note that Ashwood Realism and Luminos Craft do not have official Bedrock ports — third-party conversions exist but are unsupported by the original creators.
OptiFine vs Iris — October 2026 Status
OptiFine HD U J3 is the current release and supports Java 1.22.1 with most features intact. However, development pace remains slow compared to Iris. Iris 1.8, paired with the Sodium 0.6.4 performance mod, is now the recommended choice for the majority of players. Iris offers better mod compatibility, faster update cycles, and native Fabric/Quilt support. OptiFine remains the only option if you rely on the OptiFine-exclusive zoom feature or certain older CTM texture implementations.
> [WARNING:] Several popular texture packs that used OptiFine-specific CTM (Connected Textures Mod) formatting are currently broken or partially rendering incorrectly under Iris 1.8 with Java 1.22.1. This includes some older versions of Faithful 64x and a handful of building packs on CurseForge. Check the pack's changelog or Modrinth comments for an "Iris-compatible CTM" tag before downloading. Pack authors are actively patching these issues, but not all updates have landed yet.
Known Issues This Month
- NeonByte Pixel has a minor z-fighting glitch on glass panes when used with Photon Shaders v1.9.2. A fix is in progress according to the developer's Discord.
- Hollow Forest HD's animated water textures may flicker at chunk borders when using OptiFine with Fast Render enabled. Disabling Fast Render resolves this immediately.
- MiniShade Lite 3.0 is incompatible with OptiFine — do not attempt to load both simultaneously.
Check VoxelDrift's compatibility tracker (updated weekly) for the latest status on all listed packs and shaders.
Where to Find Texture Packs
Safe, high-quality sources with creator-verified downloads
CurseForge
★★★★★curseforge.com
Largest pack repository. Integrated with Prism Launcher — browse and install without leaving the launcher. All uploads are malware-scanned.
Planet Minecraft
★★★★☆planetminecraft.com
Huge community with ratings, screenshots, and creator profiles. Great for discovering new artists and niche styles. Some older downloads may be outdated.
Modrinth
★★★★★modrinth.com
Growing fast. Focuses on creator compensation and privacy. Integrated into Prism Launcher. Strong curation and faster search than CurseForge.
Minecraft Forum
★★★☆☆minecraftforum.net
The original home for community packs. Many classic and niche packs still only live here. Less active than before but invaluable for older releases.
Avoid any site that asks you to disable your browser's ad blocker, complete a survey, or install a "download manager" to get your pack. These are universal signs of malware distribution. Legitimate packs on CurseForge and Modrinth are direct downloads with no gates.

