TABLE OF CONTENTS
Ultimate Redstone Auto-Farm: Advanced Survival Crop System
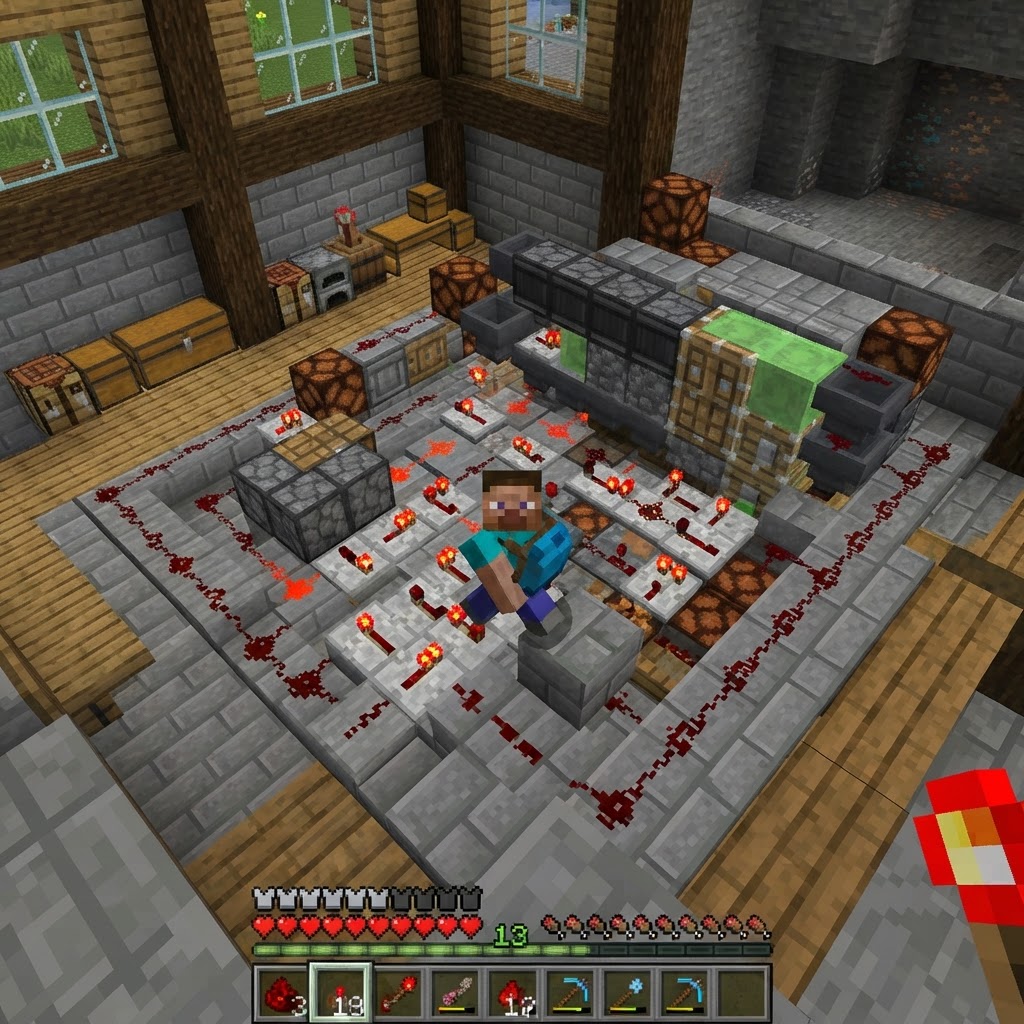
Building a fully automated crop system is one of the most satisfying milestones in Minecraft survival — and a well-designed redstone auto-farm will keep your chests stocked indefinitely without lifting a hoe. This guide walks you through designing, building, and optimizing a multi-crop automated harvesting system using intermediate-to-advanced redstone mechanics. Expect real circuit diagrams, component lists, and timing specifics.
Core Components for Your Redstone Auto-Farm
Everything you need before placing the first block
Don't start building until you have these materials ready. Missing one component mid-build wastes time and breaks momentum.
Required materials (per 9×9 harvest module):
- 81× Farmland blocks
- 9× Dispensers (filled with water buckets)
- 9× Observers (facing crop direction)
- 18× Sticky Pistons
- 36× Slime Blocks or Honey Blocks (for piston arrays)
- 1× Comparator (for chest overflow detection)
- 4× Hoppers feeding into a central chest line
- 64× Redstone Dust
- 8× Redstone Repeaters (set to 2–4 tick delay)
- 1× Clock Circuit (recommended: 5-clock using repeaters)
- Iron supply: minimum 3 stacks (hoppers + dispensers are iron-heavy)
- Slimeballs: 1 stack (crafting slime blocks for flying machine carriers)
- Bone Meal reserves: optional, accelerates initial crop seeding
- Clear and flatten a 13×13 area (9×9 farmland + 2-block buffer on all sides for wiring).
- Place your water source in the center block of each 9×9 quadrant — one water source hydrates all 80 surrounding farmland blocks within range.
- Till the farmland using a hoe on all 80 surrounding blocks. Leave the center water source block untouched.
- Raise your perimeter wall by 2 blocks. This contains water during dispenser flood-harvest cycles.
- Install your hopper network underneath the farmland layer. Run hoppers pointing toward a central collection chest. Use a hopper minecart system if you're covering more than 27×27 blocks.
- Leave a 1-block gap between the farmland surface and any overhead observer/piston rail — crops need vertical clearance to grow to full height before triggering harvest.
- Place Observer facing crop at ground level, signal output facing away from crop.
- Run redstone dust from Observer output to a Repeater set to 3-tick delay.
- Connect Repeater output to your Dispenser (water bucket loaded).
- Run a secondary line from the same Repeater through a NOT gate (torch inverter) to the sticky piston arm.
- The NOT gate ensures the piston arm extends (blocking replanting) only while water is flowing — retracts automatically when dispenser cycle ends.
- 2× Slime Block clusters (3 blocks each)
- 2× Honey Block clusters (3 blocks each)
- 4× Observers (2 facing each direction for bidirectional travel)
- 2× Pistons at each end acting as bumpers/reversers
- 5-Repeater Loop Clock: Simple, adjustable. Set all 5 repeaters to 4 ticks for a 40-tick (2-second) cycle. Best for single-module farms.
- Comparator Clock: Reads a container's fill level to set cycle rate. Slows automatically when inventory fills — built-in overflow protection.
- Daylight Sensor + Repeater Chain: Triggers harvest cycles at dawn and dusk only. Low-tech, zero lag, works well in singleplayer.
- Wheat: 7 growth stages, triggered at stage 7. Standard Observer setup works perfectly.
- Carrots / Potatoes: Also 7 stages, but visually identical to wheat at maturity. Same Observer wiring applies.
- Beetroot: 4 growth stages only. Observer fires earlier than expected — add a 1-tick repeater delay to avoid harvesting immature crops.
- Melons / Pumpkins: Stem doesn't change state; the grown fruit block triggers the Observer. Place Observer facing the fruit spawn tile, not the stem.
- Sugarcane: Observer faces the second block (height 2). Harvest fires when sugarcane reaches height 3, leaving the base block intact for regrowth.
- Chunk-load your farm: Use a Nether portal pair or a chunk loader mod (on modded servers) to keep farm chunks active when you're away. Crops only grow in loaded chunks.
- Consolidate hopper lines: More than 8 hoppers in series causes item backup. Split into parallel lines feeding a single output chest.
- Gate your clock circuit: Add a lever-controlled kill switch to the clock line. Disabling the clock while chests are full prevents pointless redstone cycling and reduces TPS impact.
- Use item filters: Sort output using a filtered hopper system. Stack comparators reading chest fill levels to auto-disable specific crop modules when storage is full.
- Upgrade to hopper minecart: A single hopper minecart on a looped rail under the farmland replaces 20+ hoppers and collects faster with less lag.
Recommended inventory before starting:
Building the Farm Grid
Laying a foundation that scales without rebuilding from scratch
The grid design determines whether your farm stays manageable at 9×9 or scales to 45×45. Build modularly from the start.
Step-by-step grid construction:
| Farm Size | Modules | Estimated Yield (wheat/hr) | Hopper Lines Needed |
| 9×9 | 1 | ~180–220 | 1 |
| 27×27 | 9 | ~1,600–2,000 | 3 |
| 45×45 | 25 | ~4,500–5,200 | 5 |
Redstone Auto-Farm Wiring: The Harvest Circuit
Getting the timing right is the difference between a working farm and a flooded mess
The harvest circuit has two jobs: trigger water flush at crop maturity and reset for the next growth cycle. Both need precise timing.
The Observer-Piston Harvest Method (most reliable for survival):
Observers detect block state changes — specifically, wheat advancing from growth stage 6 to stage 7 (fully mature). Wire your observers to face the crop row, output signal going into a sticky piston that holds a slime block platform above the crop row.
Wiring sequence:
Alternative: Flying Machine Harvester
For larger farms, a flying machine using Observers + Slime Blocks + Honey Blocks traverses the entire field automatically. Use the design popularized by ilmango (YouTube, SciCraft server) — it runs without player input and covers 63 blocks per pass. Build requires:
Observer Timing and Clock Circuits
Bad timing causes half-harvests; good timing doubles your efficiency
Observers fire a 2-game-tick pulse by default. For most harvest triggers, that's too short to reliably activate a dispenser and retract cleanly. Use pulse extenders or dedicated clock circuits.
Recommended clock options for redstone auto-farms:
Timing reference table:
| 63×63 | 49 | ~9,000+ | 7 |
| Clock Type | Cycle Speed | Lag Risk | Best Use Case |
| 5-Repeater Loop | Adjustable (10–80 ticks) | Low | Small single-module farms |
| Comparator Clock | Dynamic | Very Low | Storage-integrated systems |
| Hopper Clock | Fixed (item-count based) | Low-Medium | Mid-size farms |
| Daylight Sensor | Twice daily | None | Singleplayer, passive farms |
Crop-Specific Configuration
Wheat settings don't work for beetroot — configure per crop or waste half your yield
Each crop type has different growth mechanics. A single-configuration farm that ignores this loses 30–60% efficiency on non-wheat crops.
Crop growth stage requirements:
Dedicated multi-crop layout:
Run separate wiring channels per crop type within the same farm footprint. Use colored concrete as zone markers during construction and label your Repeater delays with item frames showing the delay value (1 item = 1 tick visually).
Optimization and Scaling Your Redstone Auto-Farm
A farm that works at 9×9 will break at 45×45 without these adjustments
Scaling introduces lag, hopper overflow, and observer cascade failures. Fix these before they happen.
Performance optimization checklist:
Conclusion
A functional redstone auto-farm isn't just a convenience — it's infrastructure that defines the trajectory of your entire survival world. Start with a single 9×9 wheat module, nail the observer timing and clock circuit, then clone the module outward as your iron supply grows. The scaling table in this guide gives you exact hopper requirements at every size so you're never caught under-prepared.
The most common failure point is timing — too fast and crops aren't mature, too slow and you're leaving yield on the table. Tune your repeater delays per crop type using the configuration section, add a comparator-based overflow kill switch, and your farm runs indefinitely without babysitting. Build it right once, and it works forever.
RELATED ARTICLES
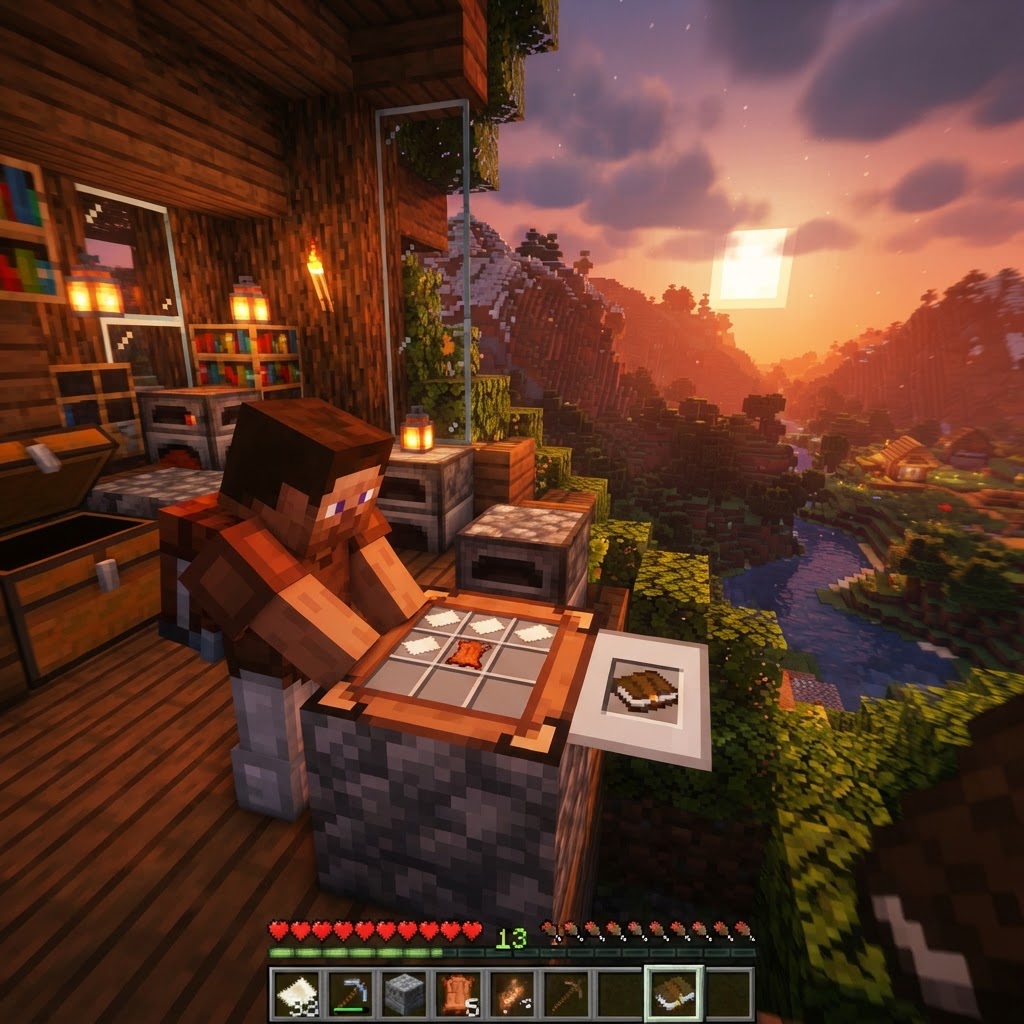
How to Make a Book in Minecraft: Easy Recipe & Uses
You're probably here because you just hit a wall — enchanting, writing, or crafting something advanced — and realized you need books but aren't sure how to get them efficiently. Books are one of Minec...
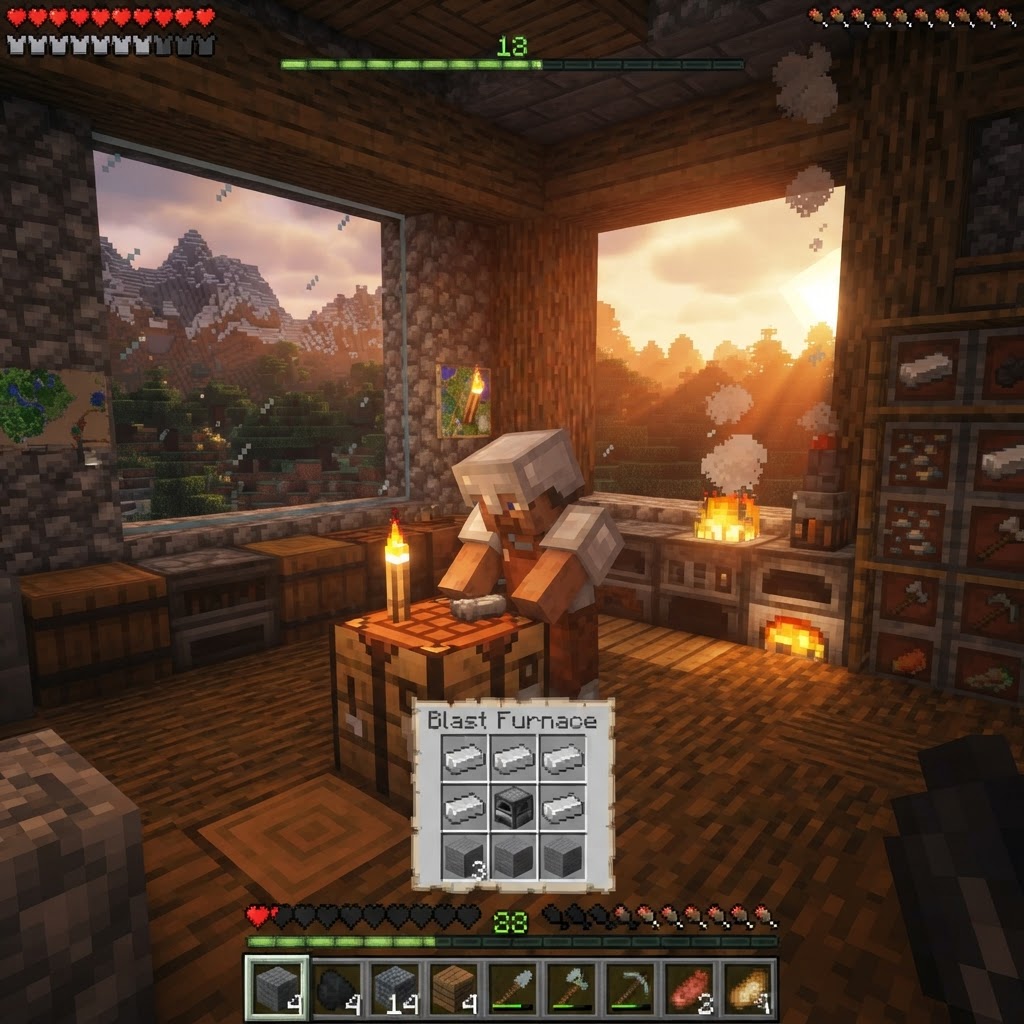
How to Make a Blast Furnace in Minecraft: Recipe & Uses
If you've been manually smelting ores one by one in a regular furnace, you're wasting serious time — the Minecraft blast furnace doubles your smelting speed for metals and ores, making it one of the m...
How to Make a Smoker in Minecraft: Recipe & Uses
If you're tired of waiting forever for your food to cook in a standard furnace, the smoker is the upgrade you didn't know you needed. It cooks food items at exactly twice the speed of a regular furnac...
STAY UPDATED
New blog posts, guides, and community tips delivered to your inbox.
No spam. Unsubscribe anytime.
Comments (0)
No comments yet. Be the first to share your thoughts!