TABLE OF CONTENTS
Minecraft Lantern Crafting: Ultimate How-To Guide
Torches get the job done, but they look terrible and monsters still spawn closer than you'd like. If you're building anything worth showing off — or just tired of your base looking like a cave — lanterns are the lighting upgrade you actually need. This guide covers everything from where to find the materials to advanced placement strategies that will transform both your builds and your mob-proofing game.
Getting Your Materials: Iron Nuggets and Torches
Before you craft anything, you need to understand what you're actually gathering and why substitutions don't exist.
Minecraft lantern crafting requires exactly two material types: iron nuggets and a torch (or soul torch for the soul lantern variant). Sounds simple, but players waste significant time sourcing these inefficiently.
Iron Nuggets — Three Ways to Get Them:
- Smelt iron ore or raw iron in a furnace to get iron ingots, then craft those ingots into 9 nuggets each. This is the most reliable early-game method.
- Loot them directly from shipwreck chests, drowned drops, or bartering with piglins in the Nether (piglins have a chance to toss you nuggets).
- Craft from iron ingots — place one ingot anywhere in your crafting grid to instantly receive 9 nuggets. If you already have ingots, skip the middleman entirely.
Torches — Almost Too Easy:
A standard torch requires one coal (or charcoal) on top of one stick. If you're at the stage where you're crafting lanterns, you almost certainly have torches already. The real decision is whether you want a regular lantern or a soul lantern — which changes your torch type entirely.
Exact Material Count Per Lantern:
- 8 iron nuggets
- 1 torch (regular or soul)
That's it. No iron ingots, no glass, no complicated Nether runs required for a basic lantern. One iron ingot gives you enough nuggets for one full lantern with one nugget to spare if you're paying attention.
Step-by-Step Lantern Crafting
The recipe is specific — the placement matters more than most players realize.
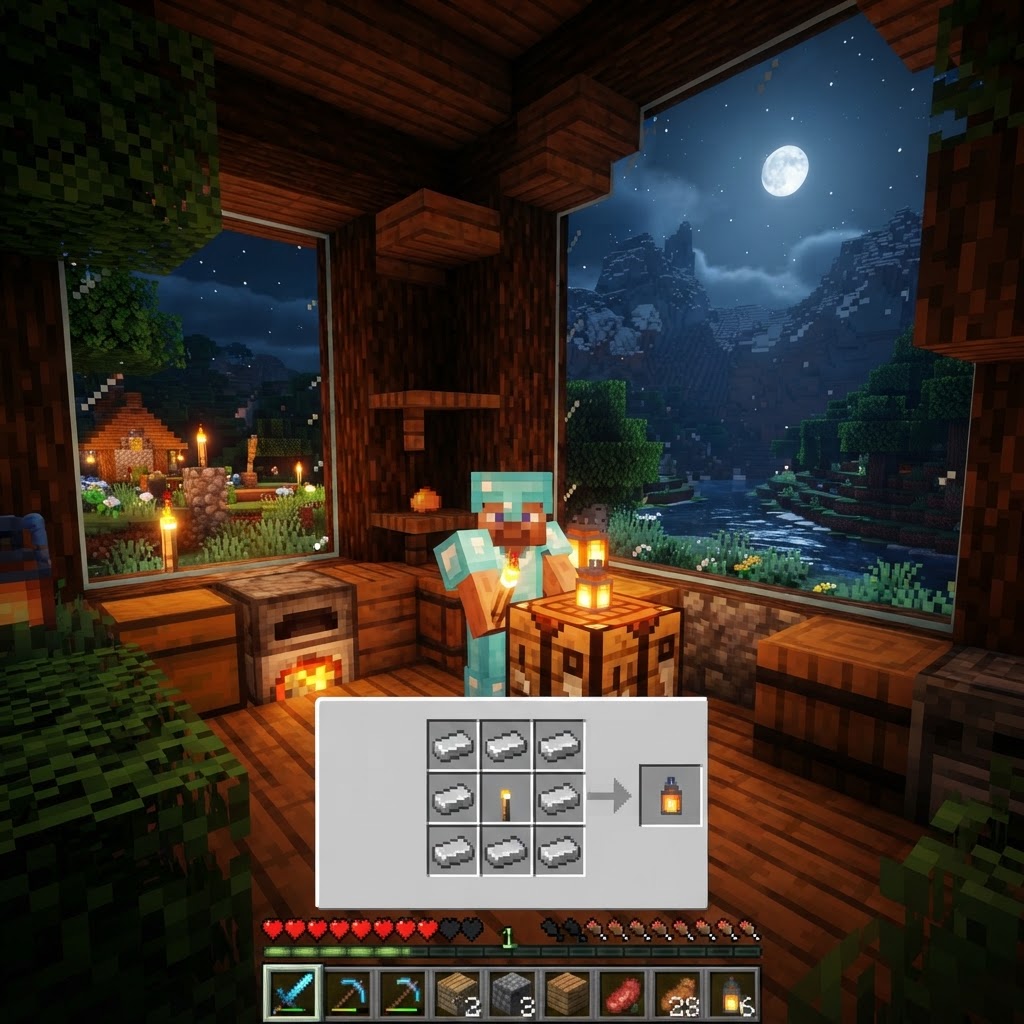
Unlike many Minecraft recipes that work anywhere in the crafting grid, the lantern recipe requires a 3×3 crafting table — your 2×2 inventory grid won't cut it.
Crafting Steps:
- Open your crafting table (right-click or interact)
- Place your torch in the exact center square (row 2, column 2)
- Fill all 8 surrounding squares with iron nuggets
- The lantern appears in the output slot — drag it to your inventory
That's the complete recipe. The torch sits in the middle, iron nuggets wrap around it on all sides — top, bottom, left, right, and all four corners.
Soul Lantern Variant:
Swap the regular torch for a soul torch and you get a soul lantern — same iron nugget layout, different torch in the center. Soul torches are crafted with soul sand or soul soil (found in the Nether's Soul Sand Valley biome) replacing the coal in a standard torch recipe.
Regular Lantern vs. Soul Lantern: Which Should You Use?
The difference isn't just aesthetic — light levels and mob behavior make this a real gameplay decision.
Most players choose based on color preference (orange glow vs. cyan glow) without realizing the functional differences between the two. Here's the breakdown:
| Feature | Regular Lantern | Soul Lantern |
|---|---|---|
| Light Level | 15 (maximum) | 10 |
| Prevents Mob Spawning | Yes (fully) | Partially (light level 10) |
| Piglin Behavior | Neutral | Piglins avoid soul fire light |
| Nether Use | Fine | Excellent for Piglin bases |
| Aesthetic | Warm orange glow | Cool cyan/blue glow |
| Material Difference | Regular torch | Soul torch (needs soul sand/soil) |
|---|---|---|
| Crafting Complexity | Simple | Requires Nether trip |
The Practical Takeaway:
If mob prevention is your goal, always use regular lanterns. Light level 15 is the maximum in the game and guarantees zero hostile spawns in properly covered areas. Soul lanterns at level 10 leave gaps that skeletons and creepers will happily exploit overnight.
Soul lanterns shine (literally) in two scenarios: Nether builds where you want the aesthetic, and Piglin-heavy zones where the soul fire light actually deters piglins from wandering into your space.
Placement, Hanging, and Light Coverage
Where you put lanterns matters as much as having them — poor placement wastes materials and leaves dark spots.
Lanterns behave differently from torches in one crucial way: they can be placed hanging underneath blocks, not just sitting on top of surfaces. This opens up design options torches can't touch.
Two Placement Modes:
- Surface placement — Place on top of any solid block, just like a torch. The lantern sits upright.
- Hanging placement — Aim at the underside of a block and place. The lantern hangs via a chain-link visual beneath the block.
Optimal Coverage Spacing:
A single lantern at light level 15 fully lights a roughly 15-block radius in ideal conditions. For flat, open areas, place lanterns every 13-14 blocks to ensure no square drops below light level 8 (the mob-spawn threshold). In enclosed rooms, every 10-12 blocks is safer given wall absorption.
Practical Placement Tips:
- Hang lanterns from ceiling beams in builds for a realistic tavern/dungeon aesthetic
- Place on fence posts for a classic village street lamp look
- Chain them along the underside of a bridge for clean underwater-adjacent lighting
- Use them in mine shafts instead of torches — they look intentional rather than temporary
| Placement Surface | Result | Best Use Case |
|---|---|---|
| Top of solid block | Upright lantern | Pathways, fence posts, floors |
| Underside of block | Hanging lantern | Ceilings, bridges, overhangs |
| Top of fence/wall | Raised upright lantern | Street lamp effect |
| Chains | Can attach multiple | Vertical lighting columns |
| Water | Does NOT work | N/A — use sea lanterns instead |
Common Mistakes Players Make With Lanterns
These errors waste materials, leave your base vulnerable, or just make builds look worse than they should.
Mistake #1: Using Soul Lanterns as Primary Mob Defense
As covered above, soul lanterns cap at light level 10. Players who switch to them for aesthetic reasons then wonder why their "fully lit" base still spawns hostile mobs in the corners. Check light levels with F3 (Java) or use the in-game setting on Bedrock.
Mistake #2: Spacing Lanterns Like Torches
Torches are often spammed every 5-6 blocks in mines. Lanterns have the same light level as torches but feel "fancier," leading players to over-place them and burn through iron nuggets unnecessarily. Trust the 13-block spacing rule.
Mistake #3: Forgetting Lanterns Can Hang
New players exclusively place lanterns on surfaces, missing half the design potential. If your build has wooden plank ceilings, exposed beams, or stone overhangs, hanging lanterns instantly elevate the visual quality.
Mistake #4: Crafting Iron Ingots When You Already Have Them
If you have iron ingots, convert directly to nuggets — 1 ingot = 9 nuggets. Players sometimes mine additional iron thinking they need more when they have exactly what they need sitting in their inventory.
Mistake #5: Ignoring Lanterns in Favor of Glowstone or Shroomlights
Glowstone matches lanterns at light level 15, but it's either expensive (buying from witches/Nether trading) or requires Nether access. Lanterns are craftable early and offer way better aesthetics for surface builds. Don't sleep on them pre-Nether.
Pro Strategies: Lanterns Beyond Basic Lighting
Once you know the basics, these techniques separate functional builds from genuinely impressive ones.
Strategy #1: The Iron Farm Connection
If you're at mid-to-late game with an iron farm running, lanterns become essentially free. A modest iron farm produces hundreds of ingots per hour — convert overflow to nuggets and you'll never worry about lantern costs again. This is when you can afford to go lantern-heavy on large exterior builds.
Strategy #2: Light Level Mapping Before Building
Before finalizing any build, press F3 (Java Edition) and check the "Light: sky X, block X" reading. Design your lantern placement to ensure every interior square reads block light 8 or higher. This is how professional builders mob-proof without over-lighting.
Strategy #3: Lantern + Chain Vertical Columns
Chains (crafted from iron nuggets and an iron ingot) can be placed vertically and horizontally, and lanterns attach to them. Create dramatic hanging chandeliers by building a chain column down from the ceiling with a lantern at the bottom. Stack multiple chains for height variation across a large hall.
Strategy #4: Mixed Lighting for Realism
Real spaces don't have uniform lighting. Combine lanterns (warm/bright, level 15) with soul lanterns (cool/dim, level 10) and candles (level 3) to create areas with natural-looking shadows and visual depth. Use this in taverns, libraries, and atmospheric dungeons.
Strategy #5: Nether Survival with Soul Lanterns
When building in Bastion Remnants or creating Piglin trading halls, soul lanterns serve a functional purpose beyond aesthetics. Piglins have an aversion to soul fire-based light, meaning soul lanterns can subtly influence mob pathfinding in your favor.
Final Takeaways
Minecraft lantern crafting isn't complicated once you know the recipe (8 iron nuggets surrounding a central torch in a 3×3 grid), but the real value comes from understanding when to use regular lanterns versus soul lanterns, how to space them for actual mob prevention, and how hanging placement completely transforms your build quality.
The three things to walk away with: regular lanterns beat soul lanterns for mob defense at light level 15 versus 10; lanterns hang from ceilings and that feature is massively underused; and one iron ingot gives you almost enough nuggets for a full lantern, making these surprisingly affordable even in early game.
Stop settling for torch-covered walls. Lanterns cost almost the same, look ten times better, and with the spacing and placement strategies here, they'll keep your base dark-spot free without wasting materials.
RELATED ARTICLES
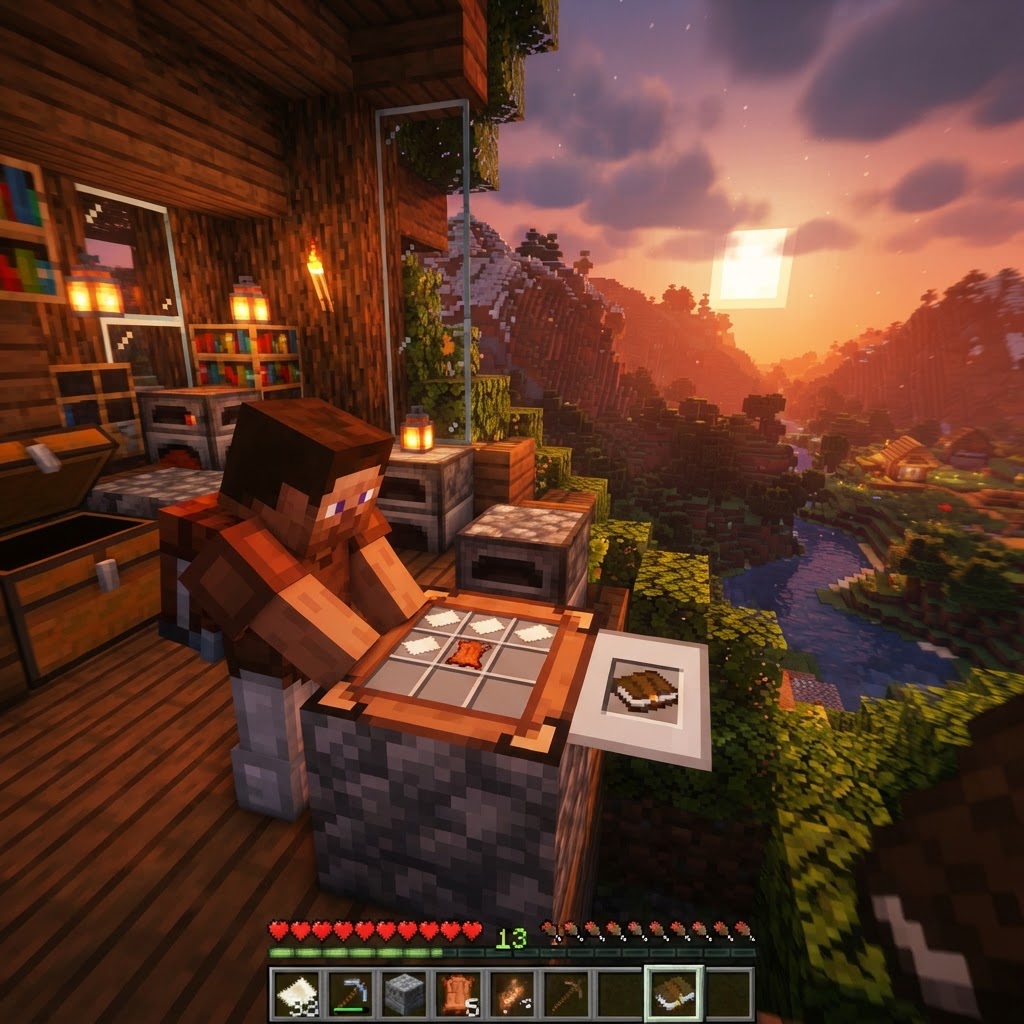
How to Make a Book in Minecraft: Easy Recipe & Uses
You're probably here because you just hit a wall — enchanting, writing, or crafting something advanced — and realized you need books but aren't sure how to get them efficiently. Books are one of Minec...
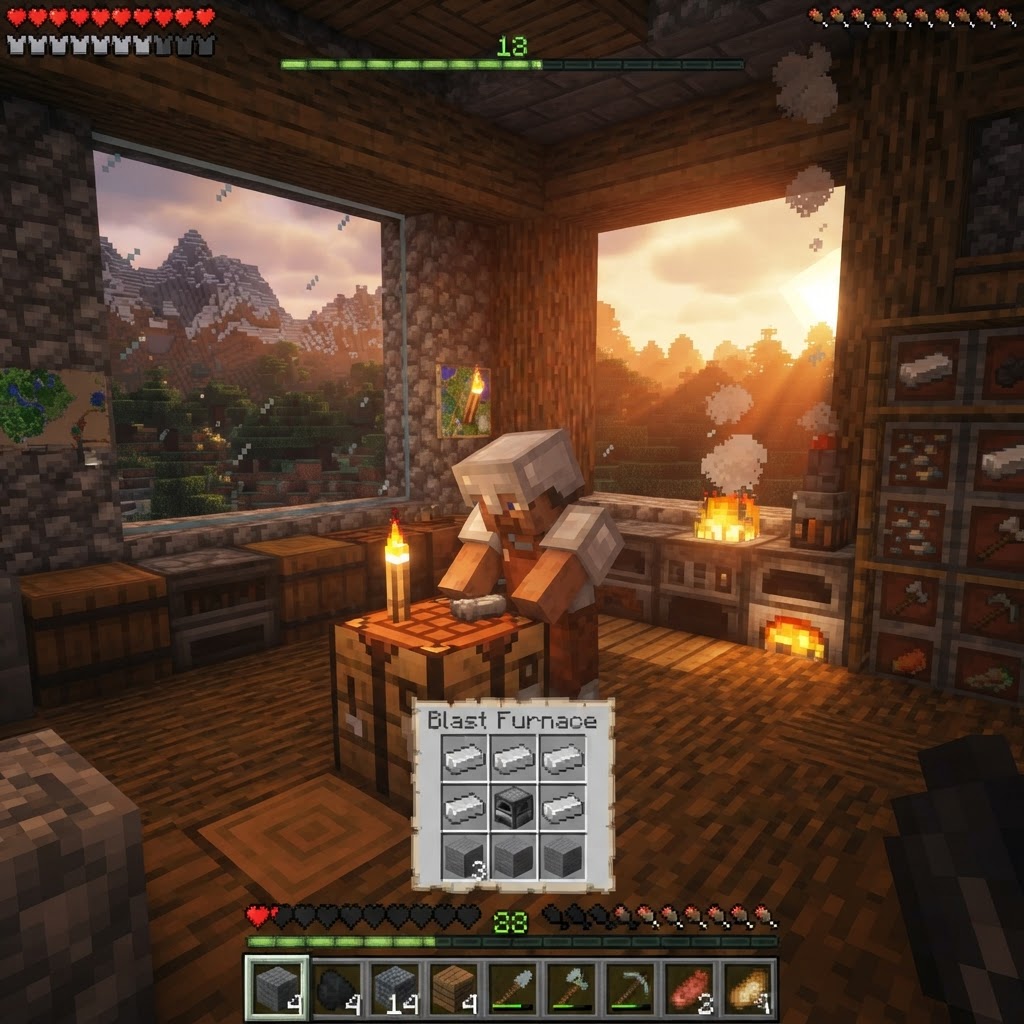
How to Make a Blast Furnace in Minecraft: Recipe & Uses
If you've been manually smelting ores one by one in a regular furnace, you're wasting serious time — the Minecraft blast furnace doubles your smelting speed for metals and ores, making it one of the m...
How to Make a Smoker in Minecraft: Recipe & Uses
If you're tired of waiting forever for your food to cook in a standard furnace, the smoker is the upgrade you didn't know you needed. It cooks food items at exactly twice the speed of a regular furnac...
STAY UPDATED
New blog posts, guides, and community tips delivered to your inbox.
No spam. Unsubscribe anytime.
Comments (0)
No comments yet. Be the first to share your thoughts!