TABLE OF CONTENTS
Minecraft Survival: Build an Automatic Trading Hall
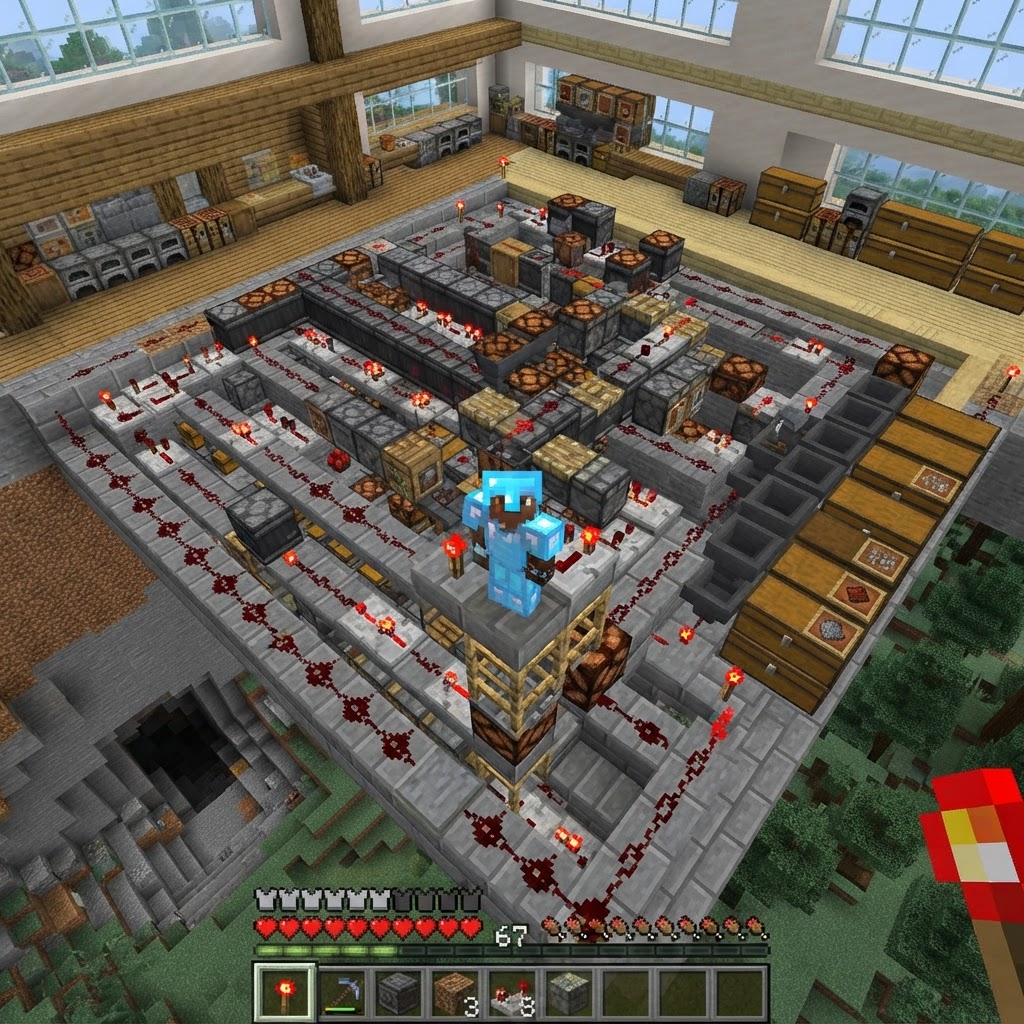
Building an automatic trading hall in Minecraft survival transforms tedious villager grinding into a passive emerald and resource engine. This guide covers everything from curing villagers efficiently to wiring up a fully automated transport and reset system. By the end, you'll have a scalable, lag-conscious trading hall running in your survival world.
Designing Your Automatic Trading Hall Layout
Plan the footprint first — retrofitting a bad layout wastes hours.
Before placing a single block, decide on your trade volume. A compact hall handles 10–20 villagers; a mega-hall can push 50+. The core principle: each villager needs a workstation, a bed, and a containment cell they can't escape or path out of.
Standard cell dimensions: 1×2×2 (width × depth × height) per villager, with a trapdoor or slab roof to prevent jumping. Line cells in rows of 10 along a central corridor.
Recommended cell layout (per row):
| Component | Block Choice | Why |
| Floor | Slabs (half-height) | Prevents villager from sleeping |
| Back wall | Solid block + workstation flush | Keeps station accessible |
| Front barrier | Iron bars or fence | Player can trade through bars |
| Lighting | Sea lantern beneath slab | No mob spawns, clean look |
Separate the bed chamber from the trade floor using a one-block gap the villager can "see" through but not walk into. A bed chamber directly below the trade cell, connected by a 1×1 hole with a trapdoor, is the cleanest solution.
Curing Villagers to Power Your Automatic Trading Hall
Discount stacking is the entire economic foundation — don't skip this.
A cured villager permanently reduces their trade prices, and the discount stacks up to five times on Java Edition (as of 1.20.x). One cure drops prices significantly; five cures on a Librarian can bring Mending books down to 1 emerald.
Step-by-step curing process:
- Trap a zombie villager in a 1×1×2 pit covered with a trapdoor.
- Throw a Splash Potion of Weakness (brewed from a fermented spider eye + water bottle base) onto it.
- Right-click the zombie villager with a Golden Apple (crafted, not enchanted).
- Wait 2–5 minutes (shaking particle effects confirm conversion in progress).
- Once cured, immediately assign a workstation by placing it adjacent to the cell.
- Trade once to lock the profession, then repeat the cure cycle up to 5 times for maximum discounts.
- Librarian — Mending, Silk Touch, Fortune III books
- Armorer — Diamond/Netherite armor at steep discounts when cured
- Toolsmith — Diamond tools, useful mid-game
- Farmer — Sells bread and buys crops; pairs well with auto-farms
- Cleric — Glowstone, ender pearls, bottles o' enchanting
- Build a 5-clock repeater loop (4 repeaters set to 4-tick delay in a loop) feeding a piston.
- The piston controls a trapdoor between the bed chamber and workstation floor.
- Opens for ~10 seconds at dawn and noon game-time to allow pathing.
- Returns to closed position to prevent villager escape.
Best villager professions for a trading hall:
Zombie villagers spawn naturally at a 5% rate from zombie spawns on Hard difficulty. Set your world to Hard before building to maximize natural conversion opportunities.
Automating Transport and Resets with Redstone
The "automatic" in automatic trading hall comes from eliminating manual restock trips.
Villagers restock trades twice per in-game day — but only if they can physically reach their workstation. Your automation goal is twofold: ensure reliable workstation access on a schedule, and optionally automate item input/output via hopper networks.
Workstation Access Timer (simple clock circuit):
For a more robust solution, use an observer-based daylight detector tied to a T-flip-flop to toggle access only at sunrise.
Hopper-based item I/O:
Connect a double chest → hopper → dropper chain feeding into each cell's floor (dropped items land in front of the villager). For outputs, use a hopper minecart rail beneath a trapdoor that the emerald drops fall through. This works cleanest for bulk farmers buying wheat or beetroot.
Comparison: Manual vs. Automated Trading Hall
| Bed placement | Behind separate wall, isolated | Forces sleep without cell escape |
| Feature | Manual Hall | Automated Hall |
| Setup time | 2–4 hours | 8–15 hours |
| Daily emerald yield | 20–50 (active grinding) | 200–500+ (passive) |
| Restock reliability | Player-dependent | Clock-driven |
| Scalability | Limited by patience | Limited by hardware |
| Risk of breaking | Low | Medium (redstone desyncs) |
Scaling Your Automatic Trading Hall Without Lag
A 50-villager hall that tanks your server is worse than no hall at all.
Villager AI is one of Minecraft's most expensive processes per entity. Each villager runs pathfinding calculations constantly. At 20+ villagers, unoptimized halls cause serious TPS drops, especially on servers.
Lag reduction techniques:
- Isolate villagers in 1×1 cells — pathfinding cost drops dramatically when there's nowhere to path to.
- Use carpet mods on singleplayer (Carpet Mod by gnembon) — enables `/carpet lagFreeSpawning` and entity culling tools for testing.
- Chunk-load only the trade floor — use a Nether portal chunk loader or a single always-active chunk (your spawn chunks) to keep the hall loaded without forcing the entire base loaded.
- Remove beds once villagers are cured and assigned — on some versions this reduces AI overhead since they don't search for sleep.
- Cap at 20 villagers per hall instance — build a second hall in an adjacent chunk rather than one 50-villager megastructure.
- Solo survival — 10–15 villagers, 2–3 professions, single chunk
- Small SMP (2–5 players) — 20–25 villagers, dedicated trading chunk, hopper automation
- Large SMP/Realm — 30+ villagers split across 2 halls, server admin coordination needed
Recommended hall sizes by use case:
Conclusion: Your Automatic Trading Hall Pays for Itself
A properly built automatic trading hall is the single highest-ROI project in late-game Minecraft survival. The initial time investment — 10 to 15 hours for a full automated build — returns thousands of emeralds passively, unlocks every top-tier enchantment book, and eliminates the resource bottleneck that caps most survival worlds.
Start with a 10-cell hall, cure every villager five times, wire a basic daylight-clock for workstation access, and expand from there. The systems compound: once your Librarian sells Mending for 1 emerald and your Armorer sells diamond chestplates for 3, the rest of your survival gameplay opens up entirely.
Build the hall. Cure the villagers. Let the emeralds stack.
RELATED ARTICLES
How to Make a Book in Minecraft: Easy Recipe & Uses
You're probably here because you just hit a wall — enchanting, writing, or crafting something advanced — and realized you need books but aren't sure how to get them efficiently. Books are one of Minec...
How to Make a Blast Furnace in Minecraft: Recipe & Uses
If you've been manually smelting ores one by one in a regular furnace, you're wasting serious time — the Minecraft blast furnace doubles your smelting speed for metals and ores, making it one of the m...
How to Make a Smoker in Minecraft: Recipe & Uses
If you're tired of waiting forever for your food to cook in a standard furnace, the smoker is the upgrade you didn't know you needed. It cooks food items at exactly twice the speed of a regular furnac...
STAY UPDATED
New blog posts, guides, and community tips delivered to your inbox.
No spam. Unsubscribe anytime.
Comments (0)
No comments yet. Be the first to share your thoughts!