TABLE OF CONTENTS
Make a Brewing Stand in Minecraft: Easy Step-by-Step
If you've been getting destroyed by Blazes, Witches, or the Ender Dragon without potions, you already know the problem — you're fighting the game's hardest content completely unequipped. Making a brewing stand is the single most important crafting step between "surviving" and "actually thriving" in Minecraft, and most players delay it far longer than they should because the recipe feels obscure. This guide cuts through the confusion and gives you everything you need to build one, use it correctly, and avoid the mistakes that waste your time and materials.
What You Actually Need to Make a Brewing Stand
The materials are simple — but one of them will send you straight into the Nether.
Before you touch a crafting table, understand that a brewing stand requires exactly two types of materials: a Blaze Rod and three Cobblestone (or Blackstone, or Cobbled Deepslate — more on that below). The Blaze Rod is the hard part. It drops from Blazes, which only spawn in Nether Fortresses, and that means your brewing journey begins the moment you build a Nether portal.
Full material list:
- 1x Blaze Rod (dropped by Blazes in Nether Fortresses, 0–1 per kill, increased by Looting)
- 3x Cobblestone or Blackstone or Cobbled Deepslate (any of the three works)
- A crafting table (3x3 grid)
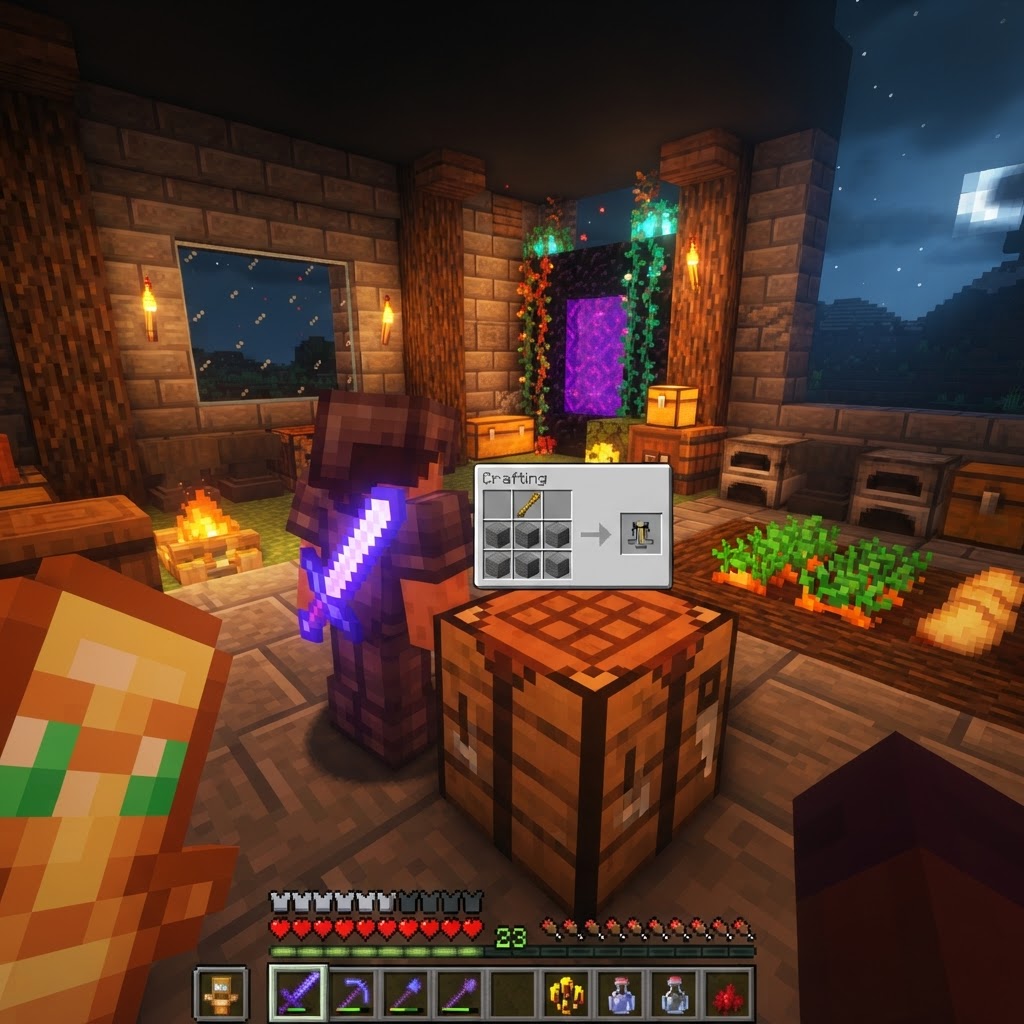
- Place 1 Blaze Rod in the center cell of the middle row (row 2, column 2).
- Place 3 Cobblestone across the entire bottom row (row 3, columns 1, 2, and 3).
- Leave the top row completely empty.
- Drag the Brewing Stand from the output slot into your inventory.
- 3 potion slots at the bottom (for up to 3 bottles simultaneously)
- 1 ingredient slot at the top (the item being brewed into the potions)
- 1 fuel slot on the left (for Blaze Powder)
- Open your crafting table (or even your personal 2x2 grid).
- Place 1 Blaze Rod anywhere in the grid.
- It produces 2 Blaze Powder per rod.
- [ ] Brewing stand placed on a solid block
- [ ] Blaze Powder in the fuel slot (left side)
- [ ] Water Bottles in 1–3 of the bottom potion slots
- [ ] Brewing ingredient in the top slot
- [ ] Wait approximately 20 seconds per brew cycle
- Redstone Dust extends potion duration (useful for long dungeons or boss fights)
- Glowstone Dust increases potion potency (stronger effect, shorter duration)
- Gunpowder converts any potion into a Splash Potion (throwable)
- Dragon's Breath converts Splash Potions into Lingering Potions (area effect)
The cobblestone is trivially easy to get — you almost certainly have stacks of it already. The Blaze Rod is the true bottleneck, and it forces you to progress through the Nether before you can brew anything. This is intentional game design: potions are powerful, so they're locked behind a mid-game biome that demands preparation.
How to Craft a Brewing Stand: Step-by-Step
The recipe is straightforward once you know the exact layout.
Open your crafting table and follow this exact placement:
That's it. The recipe produces one brewing stand per craft. There are no alternative recipes, no shapeless variants — the layout above is the only way to craft it at a crafting table.
Once placed in the world, the brewing stand acts as a functional block. Right-clicking it opens a brewing interface with:
Finding a Brewing Stand vs. Crafting One
You might not need to craft one at all — if you know where to look.
Brewing stands generate naturally in several locations across the world. If you're trying to skip the Nether grind or get a head start, these are your options:
| Location | Chance of Spawning | Notes |
|---|---|---|
| Igloos (basement) | 100% (if basement exists) | Only ~50% of igloos have a basement |
| Witch Huts | 100% | Always spawns with potions already inside |
| End Ships | 100% | Found floating near End Cities, post-dragon |
| Village Churches (Clergyman) | Very common | May be occupied by a Priest villager |
If you find a naturally spawning brewing stand, you can pick it up by mining it with any pickaxe — it drops as an item. No Silk Touch required. This makes finding one in an igloo or village church a legitimate strategy for skipping the Nether Rod requirement entirely early on.
Fueling Your Brewing Stand and Setting It Up Properly
A brewing stand without Blaze Powder does absolutely nothing — don't make this mistake.
This is where most players hit a wall. They craft the stand, place it, add ingredients and water bottles, and then nothing happens. The reason: Blaze Powder is required as fuel, and it must be placed in the dedicated fuel slot before brewing begins.
To make Blaze Powder:
Each unit of Blaze Powder fuels 20 brewing operations. The fuel bar depletes as you brew, and you'll need to refill it periodically during extended sessions.
Basic setup checklist:
| Component | Where It Goes | How to Get It |
|---|---|---|
| Blaze Powder | Left fuel slot | Craft from Blaze Rod (1 rod = 2 powder) |
| Water Bottles | Bottom 3 potion slots | Fill Glass Bottles at any water source |
| Brewing Ingredient | Top ingredient slot | Varies by potion (e.g., Nether Wart for base) |
| Nether Wart | First step for most potions | Found in Nether Fortress chests / soul sand farms |
Common Mistakes Players Make With Brewing Stands
These errors cost hours of progress — learn them before they cost you.
1. Forgetting Blaze Powder entirely
By far the most common issue. The stand looks ready, the ingredient is in, the bottles are there — but nothing happens. Always check the fuel slot first.
2. Using a Blaze Rod as fuel instead of Blaze Powder
Blaze Rods do NOT go in the fuel slot. They must be converted to Blaze Powder first. Players who try to place a rod in the fuel slot find it doesn't fit and assume the stand is broken.
3. Brewing without Nether Wart first
Most potions require an Awkward Potion as their base, which is made by brewing Nether Wart into a Water Bottle. Skipping this step and dumping a Magma Cream or Spider Eye directly into Water Bottles creates "Mundane Potions" — useless potions that cannot be upgraded or enhanced. The correct brewing chain is: Water Bottle → (Nether Wart) → Awkward Potion → (Specific Ingredient) → Useful Potion.
4. Not having enough Blaze Rods
Players who kill one or two Blazes and head home quickly run out. You need Blaze Rods for: crafting the stand, making Blaze Powder fuel, and making Eyes of Ender for the stronghold. Farm at least 10–15 rods before leaving the Nether.
5. Breaking the brewing stand with the wrong tool
A brewing stand must be mined with a pickaxe to drop as an item. Punching it or using an axe causes it to break without dropping. This is particularly painful if you looted one from a village church.
6. Placing it somewhere inconvenient
Brewing takes time and multiple steps. Set up your brewing stand near your storage chest, crafting table, and a water source. Having to run back and forth between areas adds up across dozens of brewing sessions.
Pro Strategies for Advanced Brewers
Once the basics are locked in, these habits separate efficient players from everyone else.
Chain brewing for maximum efficiency
Set up your brewing area with chest access directly adjacent to the stand. Keep pre-filled water bottles in one chest, Blaze Powder in another, and ingredients sorted by potion type. Experienced players can cycle through entire brewing sessions in minutes rather than scrambling for materials mid-brew.
The Nether Wart farm is non-negotiable
Gather Nether Wart from Fortress chests and plant it on Soul Sand in your base. Nether Wart doesn't need light or water — just Soul Sand. A small 5x5 farm gives you effectively unlimited base potion ingredients and removes the biggest supply bottleneck in late-game brewing.
Duplicate your stand early
You only need one brewing stand to function, but building two lets you run parallel brewing operations — one for base potions (Water Bottle → Awkward) and one for final potions (Awkward → finished product). This nearly halves your total brew time during large crafting sessions.
Use Glowstone and Redstone to customize potions
These modifiers go in the top ingredient slot just like regular brewing ingredients and apply to all three bottles simultaneously.
Fermented Spider Eye: the corruption modifier
One of the most underused brewing items, Fermented Spider Eye inverts or corrupts potion effects. It turns a Potion of Healing into a Potion of Harming, a Potion of Swiftness into a Potion of Slowness, and a Potion of Night Vision into a Potion of Invisibility. Learning these conversions dramatically expands your potion library without requiring rare ingredients.
Conclusion: Build It Early, Use It Often
Making a brewing stand is a mid-game milestone that fundamentally changes how you play Minecraft. The recipe demands one trip to the Nether, which is exactly the push you need to make that transition from early survival to genuine progression. Craft the stand, set it up with Blaze Powder fuel, brew in batches of three, and build your Nether Wart farm before you need it urgently.
The three things to remember above everything else: you need Blaze Powder to fuel it (not Blaze Rods), Nether Wart comes first in almost every potion chain, and always brew three at once. Get those right and you'll go from zero potions to a full combat kit faster than you thought possible.
RELATED ARTICLES
How to Make a Book in Minecraft: Easy Recipe & Uses
You're probably here because you just hit a wall — enchanting, writing, or crafting something advanced — and realized you need books but aren't sure how to get them efficiently. Books are one of Minec...
How to Make a Blast Furnace in Minecraft: Recipe & Uses
If you've been manually smelting ores one by one in a regular furnace, you're wasting serious time — the Minecraft blast furnace doubles your smelting speed for metals and ores, making it one of the m...
How to Make a Smoker in Minecraft: Recipe & Uses
If you're tired of waiting forever for your food to cook in a standard furnace, the smoker is the upgrade you didn't know you needed. It cooks food items at exactly twice the speed of a regular furnac...
STAY UPDATED
New blog posts, guides, and community tips delivered to your inbox.
No spam. Unsubscribe anytime.
Comments (0)
No comments yet. Be the first to share your thoughts!