TABLE OF CONTENTS
Minecraft Shield Guide: Craft, Customize & Enchant Shields
Getting killed by a skeleton volley or creeper explosion before you've crafted a shield is one of Minecraft's most frustrating early-game deaths — because the fix is simpler than most players realize. A Minecraft shield blocks up to 100% of incoming melee and projectile damage from the front, making it the single most important defensive item you can craft before your first night. This guide goes beyond the basics to cover crafting, customization, enchanting, and the advanced techniques that keep experienced players alive in even the most hostile situations.
Crafting Your First Minecraft Shield
Everything you need, where to get it, and why you shouldn't wait.
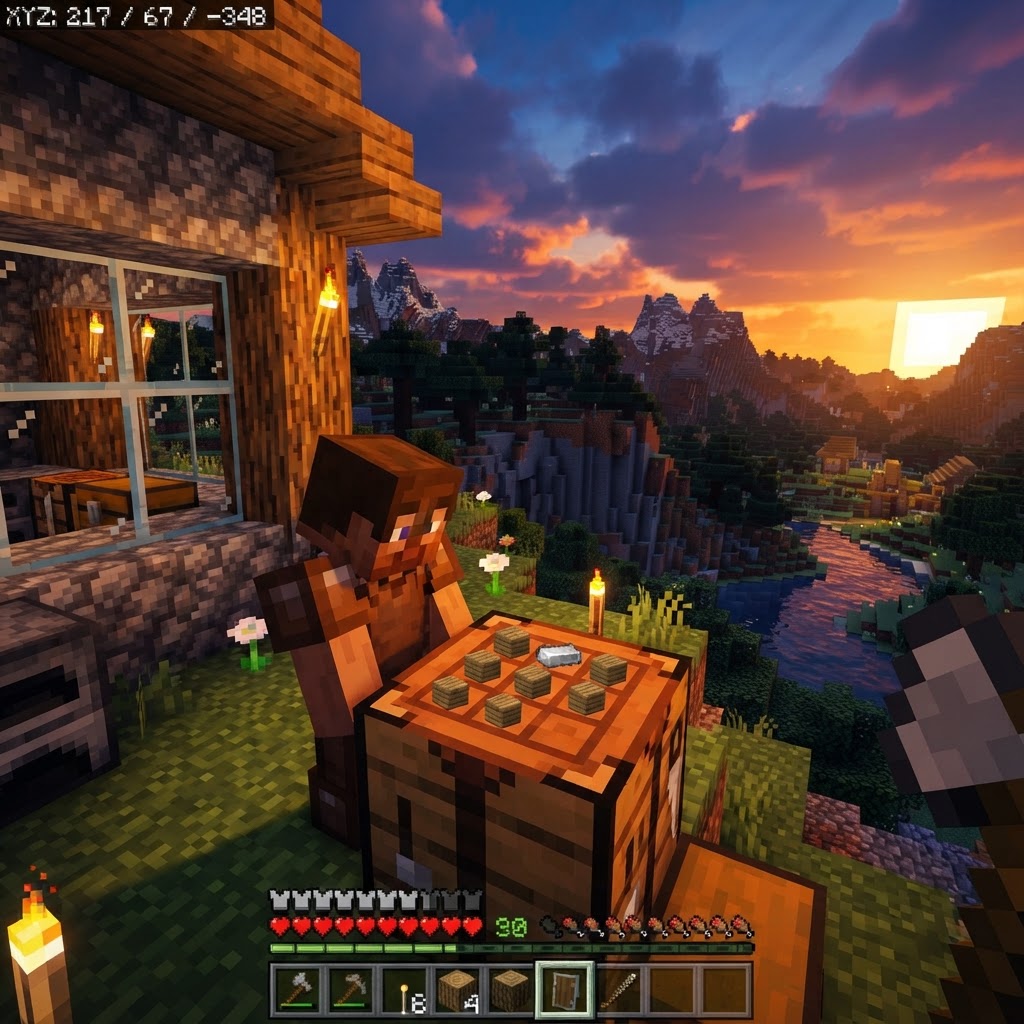
Most players delay crafting a shield because they assume it requires rare materials. It doesn't. You need exactly six wooden planks and one iron ingot — materials you almost certainly have within your first 10 minutes of a new world.
Crafting Recipe (Shapely, matters):
Place the following in a crafting table in this exact layout:
- Top row: Wood Plank | Iron Ingot | Wood Plank
- Middle row: Wood Plank | Wood Plank | Wood Plank
- Bottom row: (empty) | Wood Plank | (empty)
The result is a single shield with 336 durability points. You can mix any type of wooden plank — oak, spruce, jungle, crimson, warped — they all produce the same shield with identical stats.
Material Sourcing Cheat Sheet:
- Wood Planks: Any tree, anywhere, immediately
- Iron Ingot: Smelt iron ore (found at Y-levels 15–232, most common around Y=16) or loot from chests in villages, dungeons, and mineshafts
You can also find pre-made shields in village armorer chests and occasionally from zombie drops on Hard difficulty. However, crafting your own is always faster and gives you the option to customize it.
Banner Customization: Make Your Shield Unique
How to apply a banner design to your shield and why it matters beyond aesthetics.
A Minecraft shield doesn't have to look like plain wood and iron. Applying a banner design gives your shield a custom pattern — and it also helps you visually identify your shield in multiplayer or when switching between inventory slots quickly.
How to Apply a Banner to a Shield:
- Craft or obtain a banner with your desired design (banners use 6 wool + 1 stick)
- Apply dye-based patterns using a loom — combine banner, dye, and optional pattern item
- Once your banner design is complete, open a crafting table
- Place your shield in one slot and your banner in the adjacent slot (no specific grid position required — just the two items together)
- The output will be your shield with the banner design applied
- Enchanting Table: Place your shield in the slot, spend lapis and XP. You'll get random enchants — Unbreaking III is the most common useful result.
- Anvil + Book: Combine an enchanted book with your shield at an anvil. This is the only reliable way to apply Mending, which doesn't appear on the enchanting table for shields.
- Villager Trading: Librarian villagers can sell Mending books. Lock in a Mending librarian early by placing a lectern near an unemployed villager, then trade repeatedly to reduce the price.
- Activation Delay: There is a 250ms (quarter-second) delay after right-clicking before your shield becomes active. In PvP, this is critical — don't wait until the last moment.
- Blocking Angle: Shields block attacks from a 180-degree arc directly in front of you. Attacks from behind or the side bypass your shield entirely.
- Melee Knockback: When blocking a melee hit, you receive significantly reduced knockback. This matters in fights near ledges or lava.
- Arrow Deflection: Blocked arrows physically drop to the ground and can be picked up. This is an efficient way to recover ammo.
- Craft your shield immediately: six planks, one iron ingot, done
- Enchant with Mending first, Unbreaking III second
- Understand the 250ms delay and the axe-disable mechanic before relying on it in dangerous situations
- Customize with banners for identity in multiplayer without any stat trade-off
- Use the ghast fireball reflection and raid defense stacking techniques once you're comfortable with the basics
Banner Pattern Sources:
| Pattern Item | Design Produced | Where to Find |
|---|---|---|
| Creeper Head | Creeper face | Kill charged creeper |
| Skull | Skull and crossbones | Wither skeleton drop |
| Flower Charge | Flower | Oxeye daisy in loom |
| Globe | Globe (Java only) | Cartographer trade |
| Field Masoned | Brick pattern | Brick block in loom |
| Bordure Indented | Vines border | Vines in loom |
|---|
Banners can hold up to 6 layers of patterns, allowing incredibly complex designs before you apply them to the shield.
Enchanting Your Minecraft Shield
The enchantments that actually matter and how to get them efficiently.
Shields have a limited but important enchantment pool. Knowing which enchantments to prioritize — and which are available — is what separates a functional shield from an exceptional one.
Shield Enchantment Comparison Table:
| Enchantment | Max Level | Effect | Priority |
|---|---|---|---|
| Unbreaking | III | Reduces durability loss per use | High |
| Mending | I | Repairs with XP orbs | Very High |
| Curse of Vanishing | I | Disappears on death | Avoid |
How to Enchant a Shield:
Durability Without Enchantments:
A base shield lasts 336 blocks of damage before breaking. In a boss fight or dungeon raid, this can deplete faster than expected. Prioritize Mending before late-game content.
Shield Mechanics: Timing, Blocking Angles & What It Doesn't Stop
Understanding exactly how your shield works is the difference between surviving and dying confused.
Many players activate their shield reactively and still take damage — because they don't understand the activation delay and blocking angle rules.
Key Mechanics to Internalize:
What Shields Block vs. What They Don't:
| Attack Type | Blocked? | Notes |
|---|---|---|
| Melee (sword, axe) | Yes (but see axe note) | Axes can disable shield temporarily |
| Arrows & crossbow bolts | Yes | Arrows drop and can be picked up |
| Fireball (ghast) | Yes, reflected | Aim to send it back |
| Explosion (creeper, TNT) | Partial | Reduces damage, doesn't fully negate |
| Trident | Yes | Riptide tridents can bypass |
| Magic / Potions | No | Splash potions ignore shields |
|---|---|---|
| Thorns damage | No | Reflected damage bypasses |
| Fall damage | No | |
| Drowning | No |
Common Mistakes Players Make With Shields
The errors that kill players who already have a shield equipped.
1. Crafting Too Late
Players wait until Iron Age or even mid-game to craft a shield. You can make one Night 1. Six planks and one iron ingot is the entire cost.
2. Not Accounting for the Activation Delay
Raising your shield the instant a skeleton fires is often too late. Pre-raise your shield when you know combat is imminent, not after the first arrow hits you.
3. Ignoring Axe Users
Vindicators in raids and PvP players with axes will disable your shield. Many players block an axe hit and then stand confused while taking full damage for 5 seconds.
4. Holding Shield in Offhand, Never Using It
Equipping a shield and forgetting to actively right-click it during combat is extremely common. The shield does nothing unless you're actively blocking.
5. Skipping Mending
Players enchant shields with only Unbreaking and then watch them break in a dungeon run. Mending transforms the shield from a consumable into a permanent piece of gear.
6. Fighting Mobs Sideways
Strafing without maintaining a front-facing orientation means your shield side is exposed. Always ensure the threat is directly in front of you when blocking.
Pro Strategies for Advanced Shield Use
Techniques that go beyond "hold right-click and hope."
Ghast Fireball Reflection
When a ghast fires, you can right-click the fireball with your shield (or your fist) to reflect it back. This requires you to face the fireball directly and time it well, but it's the most satisfying — and safest — way to kill ghasts without a bow.
Shield + Sword Rhythm Fighting
In Java Edition, timing matters. Swing your sword, briefly lower your shield during the attack animation, then raise it again. Experienced players alternate attack and block in a rhythm rather than holding the shield permanently down.
Totem of Undying + Shield Combo
Hold your Totem of Undying in your offhand? Swap it for a shield before entering boss fights and keep the totem in your inventory. Use the shield as primary defense — only swap the totem into your offhand when your health drops critically low. This gives you better moment-to-moment survivability than leading with the totem.
Raid Defense Stacking
During village raids, equip a shield and back yourself into a corner so only your front is exposed. Use a crossbow with Quick Charge III in your main hand and your shield in your offhand. You can fire, raise shield, fire again — this hybrid approach counters ravagers, evokers, and pillagers simultaneously.
Shield Swapping in Inventory
In PvP servers, keeping a backup shield in your hotbar lets you instantly swap if your primary gets disabled by an axe. The 5-second disable is devastating if you have no alternative — a second shield eliminates that vulnerability.
Conclusion: Your Shield Is Your Foundation
A Minecraft shield isn't optional — it's the foundation of every combat strategy, from your first night to the Ender Dragon fight. The crafting cost is negligible, the protection is massive, and the skill ceiling for advanced use is genuinely high.
Key takeaways:
The players who never die to skeletons didn't get lucky — they learned their shield. Now you have everything they know.
RELATED ARTICLES
How to Make a Book in Minecraft: Easy Recipe & Uses
You're probably here because you just hit a wall — enchanting, writing, or crafting something advanced — and realized you need books but aren't sure how to get them efficiently. Books are one of Minec...
How to Make a Blast Furnace in Minecraft: Recipe & Uses
If you've been manually smelting ores one by one in a regular furnace, you're wasting serious time — the Minecraft blast furnace doubles your smelting speed for metals and ores, making it one of the m...
How to Make a Smoker in Minecraft: Recipe & Uses
If you're tired of waiting forever for your food to cook in a standard furnace, the smoker is the upgrade you didn't know you needed. It cooks food items at exactly twice the speed of a regular furnac...
STAY UPDATED
New blog posts, guides, and community tips delivered to your inbox.
No spam. Unsubscribe anytime.
Comments (0)
No comments yet. Be the first to share your thoughts!