TABLE OF CONTENTS
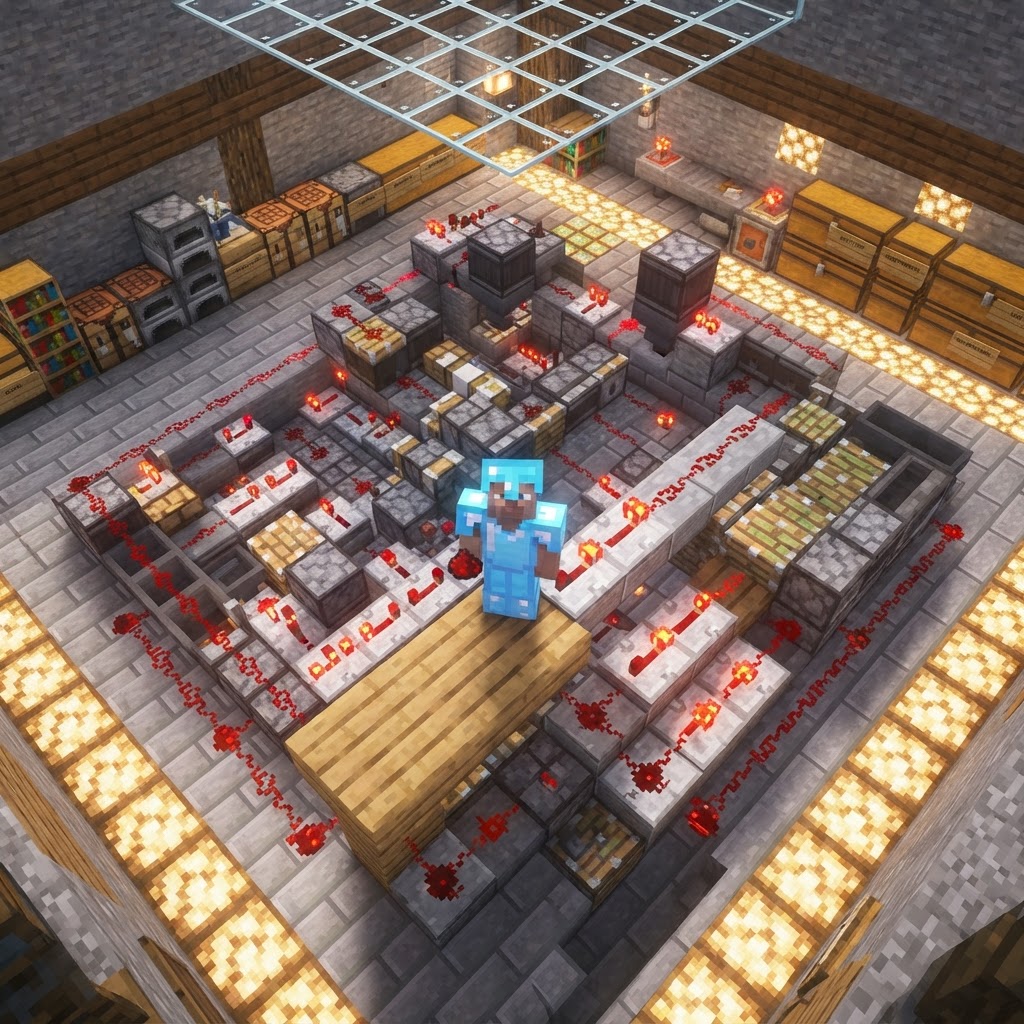
Ultimate Lag-Free Redstone Iron Farm (1.20+ Survival)
Building a high-output redstone iron farm in 1.20+ survival is one of the most rewarding technical projects you can tackle — and one of the most commonly botched. This guide covers the exact mechanics, optimal layout, and performance-tuning techniques to get you maximum iron with minimum lag.
How the Redstone Iron Farm Actually Works
Understanding the mechanics before you place a single block saves hours of rebuilding.
Iron golems spawn when a villager perceives a threat — specifically, when a zombie or other hostile mob causes enough villagers to experience fear simultaneously. The game tracks this via a "last hurt by mob" timer and a panic propagation radius. Your farm weaponizes this loop deliberately:
- Villagers are housed in beds within detection range of each other
- A zombie (or drowned, which is harder to despawn accidentally) triggers panic across the population
- Once 3+ villagers panic within a 16×6×16 detection cylinder, a golem spawns attempt fires
- The golem falls into a kill chamber, and you collect iron ingots and poppies via hopper minecarts or a water stream
The key mechanic most guides ignore: villagers must sleep. If your farm runs 24/7 without letting villagers access their beds at night, their "worked and slept" cycle breaks and golem spawn rates drop sharply after the first few in-game days.
Materials & Prep for Your Redstone Iron Farm
Get everything gathered before you build — mid-construction shopping trips kill momentum.
Villagers required: 20 (minimum 10, but rates drop significantly below 20)
Zombie source: 1 drowned trapped in a minecart works best — can't despawn, doesn't need a spawner
Full Materials List
- 20 Villagers (cure zombie villagers for cheap trades as a bonus)
- 1 Drowned (trapped in minecart with a fence post system)
- 64+ Glass blocks (for zombie viewing corridors)
- 2 Stacks Iron Trapdoors (golems must path into the kill zone)
- 1 Stack Hoppers + 2 Hopper Minecarts
- 1 Stack Powered Rails + Redstone Torches
- Lava source blocks ×4 (kill chamber)
- 3 Stacks of any solid block (structure)
- Beds ×20 (any color)
- Composters ×20 (assign villagers as Farmers — they don't need to actually farm, just have a workstation)
- Water buckets ×6
- Build a 16×16 flat platform at least Y=70 or above (keeps wandering mobs out of the spawn zone)
- Mark the center 9×9 area — this is your actual golem spawn zone (golems spawn within 8 blocks of the village center)
- Place a single 1-wide hole at the platform center leading to your kill chamber 3 blocks below
- Surround the hole with iron trapdoors set to open — golems naturally walk forward and fall in
- Build 20 individual 1×2 cells around the outer edge of the platform, each containing one bed and one composter
- Cells should face inward toward the zombie viewing corridor
- Space cells so villagers can see the zombie through glass but cannot reach it — a 2-block glass wall works perfectly
- Link all cells to the central platform via a 2-block-wide walkway so golems can pathfind to the kill hole
- Dig 4 blocks below the platform drop hole
- Create a 3×3 catch basin with hoppers feeding into a double chest on the side
- Place lava 2 blocks above the hopper layer (golems are 2.7 blocks tall — lava at this height kills them without destroying item drops)
- Add a water stream above the hoppers to push dropped items toward the collection chest
- Hopper lag: Replace long hopper chains with hopper minecarts on a looped rail. One hopper minecart covers a 5-block collection area and generates far fewer block entity updates than 5 standard hoppers.
- Golem pathfinding: Golems are expensive to pathfind. Funnel them into the kill zone within 3 seconds of spawn using a water stream push. If they wander, they eat tick budget.
- Villager workstation scanning: Every tick, unlinked villagers scan for workstations. Lock all 20 villagers to their composters on Day 1 by ensuring no other workstations are within 48 blocks.
- Chunk loading: Run the farm inside a single chunk if possible, or use a Nether portal linked chunk-loader design. An unloaded farm produces nothing and wastes your build time.
- No golems spawning: Villagers haven't slept at least once. Force a night cycle, ensure beds are accessible, and confirm no blocks obstruct the bed headboards.
- Golems spawning but escaping: Your trapdoor funneling is off. Golems spawn randomly in the 9×9 zone — add a perimeter wall 1 block tall with an open center channel.
- Spawn rate decayed after 2 days: Classic sleep-deprivation bug. Add a roof over villager cells to block phantom spawns, and verify your clock isn't running 24/7.
- Items not collecting: Hopper minecart rail loop is interrupted, or hoppers are locked by a nearby comparator signal. Check redstone signal bleed from your clock circuit.
- Villagers keep unloading workstations: Another player or farm within 48 blocks has loose workstation blocks. Clear the area or assign workstations in an enclosed room.
Building the Redstone Iron Farm: Step-by-Step
Follow this sequence exactly — the order matters because of villager pathfinding.
Phase 1 — The Golem Spawn Platform
Phase 2 — Villager Housing Ring
Phase 3 — The Kill Chamber
Redstone Timing: The Heart of the Iron Farm
Sloppy timing causes villagers to desync from their beds and tanks your spawn rate.
The zombie needs to be visible to villagers on a controlled timer — not constantly, which would prevent villagers from sleeping. Use a simple clock circuit to reveal the zombie periodically:
Recommended Clock Setup
| Circuit Type | Cycle Time | Complexity | Best For |
| Observer + Piston Dropper | 20-tick cycle | Low | Beginners |
| Comparator Clock | Adjustable | Medium | Fine-tuning |
| Hopper Clock | 80–120 ticks | Low | Set-and-forget |
| Command Block Clock | Custom | None (cheats) | Testing only |
For survival 1.20+ builds, a hopper clock running on a 100-tick (5 second) cycle is the sweet spot. This gives villagers enough scare time to register panic without locking them out of their beds permanently.
The clock controls a sticky piston that slides a glass block to either expose or cover the zombie's line of sight to the villager cells. Wire the piston output through a NOT gate (redstone torch inverter) so that by default, the zombie is hidden — this lets the farm "rest" if you walk away.
Lag Optimization for the Redstone Iron Farm
A farm that crashes your server is worse than no farm at all.
The Four Biggest Lag Sources (and Fixes)
Performance Comparison: 10 vs 20 Villager Builds
| Setup | Golems/Hour (approx.) | Iron Ingots/Hour | Server Impact |
| 10 Villagers, Basic | 18–22 | 54–66 | Low |
| 20 Villagers, Optimized | 38–45 | 114–135 | Medium |
| 20 Villagers, Unoptimized | 12–20 | 36–60 | High |
A 20-villager optimized farm is the performance sweet spot for survival singleplayer or small servers. Stacked 40-villager designs are for dedicated servers with distance-loaded farm chunks only.
Troubleshooting Common Redstone Iron Farm Failures
Most farm failures have one of five causes — check these before tearing anything down.
Conclusion
A well-built redstone iron farm in 1.20+ survival will produce 100+ iron ingots per hour passively — enough to fund full beacon builds, mass hopper crafting, and armor sets without ever mining again. The difference between a farm that works and one that works well comes down to three things: respecting the villager sleep cycle, controlling your redstone clock precisely, and minimizing entity lag from the start. Build it right once, and it runs for the entire lifespan of your world.
| 40 Villagers, Stacked | 70–80 | 210–240 | Very High |
RELATED ARTICLES
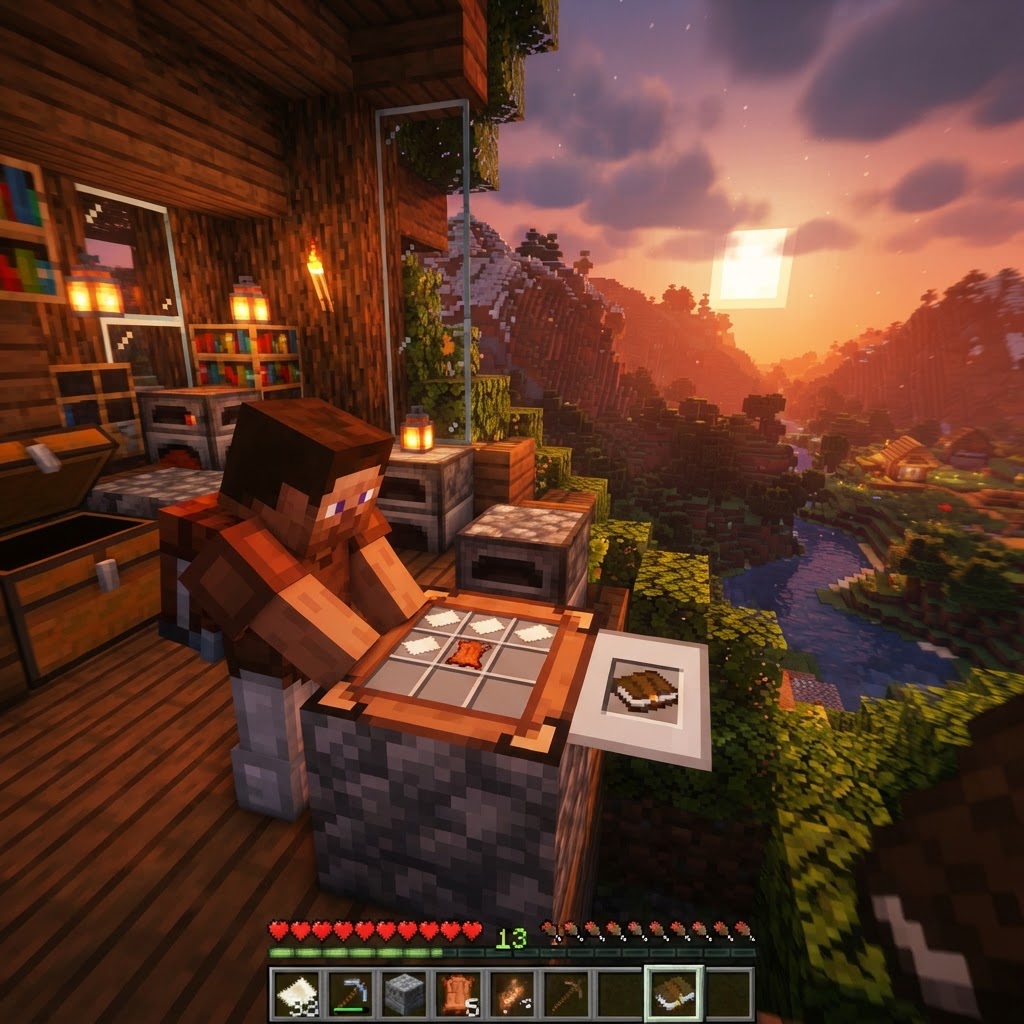
How to Make a Book in Minecraft: Easy Recipe & Uses
You're probably here because you just hit a wall — enchanting, writing, or crafting something advanced — and realized you need books but aren't sure how to get them efficiently. Books are one of Minec...
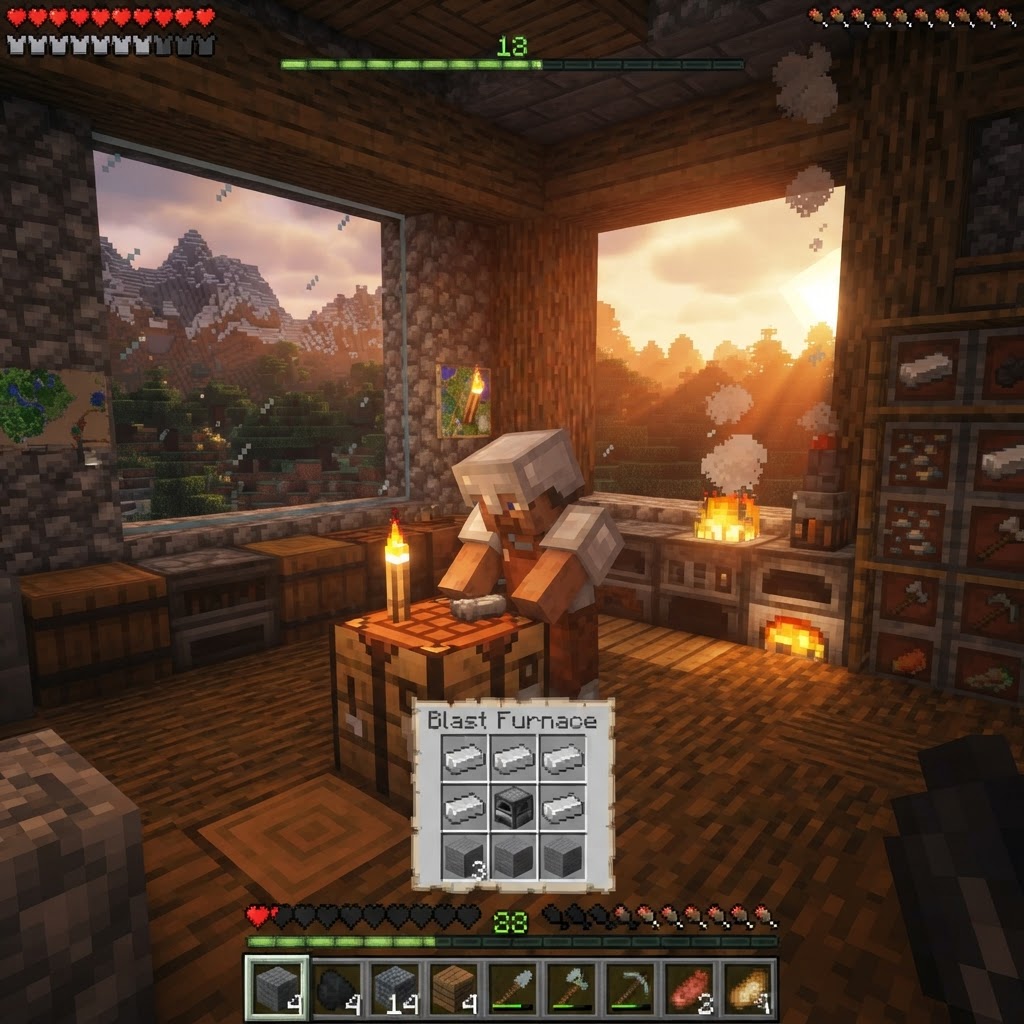
How to Make a Blast Furnace in Minecraft: Recipe & Uses
If you've been manually smelting ores one by one in a regular furnace, you're wasting serious time — the Minecraft blast furnace doubles your smelting speed for metals and ores, making it one of the m...
How to Make a Smoker in Minecraft: Recipe & Uses
If you're tired of waiting forever for your food to cook in a standard furnace, the smoker is the upgrade you didn't know you needed. It cooks food items at exactly twice the speed of a regular furnac...
STAY UPDATED
New blog posts, guides, and community tips delivered to your inbox.
No spam. Unsubscribe anytime.
Comments (0)
No comments yet. Be the first to share your thoughts!