
TABLE OF CONTENTS
Compact 1-Chunk Auto-Farm Base — Advanced Redstone
If you've ever dreamed of squeezing an entire automated survival base into the smallest possible footprint, then buckle up — because the 1-Chunk Auto-Farm is about to change how you think about efficient Minecraft design forever. Whether you're playing on a server where land is precious, running a survival world where you want everything centralized, or just love the engineering challenge of making complex systems work in tight spaces, building a fully automated farm base inside a single 16×16 chunk is one of the most satisfying accomplishments in the game. This guide is going to walk you through every layer of this compact marvel, from the redstone logic that makes it tick to the crop selection that maximizes your output per block.
Why the 1-Chunk Auto-Farm Philosophy Changes Everything
Most players spread their farms across dozens of chunks without a second thought. They build a wheat field over here, a sugarcane wall over there, maybe a mob grinder three hundred blocks away from their base. The result? A sprawling, disorganized collection of systems that require constant running back and forth, chunk-loading headaches, and a server performance nightmare that your admin probably hates you for.
Related reading: Compact 1-Chunk Auto-Sorter: Advanced Redstone Guide, Ultimate Automatic Item Sorter for Survival (Compact Redstone), Ultimate Zero-Lag Redstone Storage for Survival Worlds
The 1-Chunk Auto-Farm flips this entire mentality on its head. By confining your entire automated food and resource production system to a single 16×16 chunk, you achieve something truly powerful: constant chunk loading. In Minecraft, a chunk only processes its game logic — including farm growth, redstone circuits, and water flow — when it's within the loaded chunk radius of a player. When your entire farm base occupies one chunk, every single farm ticks simultaneously whenever any player loads that chunk. No more running to the far corner of your farm to discover that half of it hasn't been growing for the past ten minutes.
Beyond the technical benefits, there's something philosophically beautiful about the constraint. Limitations breed creativity. When you can't just keep adding more space, you're forced to think vertically, think multi-purpose, think about every single block placement with intentionality. The 1-Chunk Auto-Farm is as much an art form as it is an engineering project, and the community has pushed it in genuinely impressive directions over the past several years.
The Chunk Boundary: Your New Best Friend
Before we dive into construction, let's make sure we're all on the same page about what a chunk actually is. In Minecraft, the world is divided into 16×16 block columns that extend from bedrock all the way up to the build height limit. These are chunks, and they represent the fundamental unit of world processing. You can visualize chunk boundaries in-game by pressing F3 + G, which renders a grid overlay showing exactly where one chunk ends and the next begins.
When you're planning your 1-Chunk Auto-Farm, start by standing at a chunk corner and pressing F3 to note the exact coordinates. Write them down. Your chunk spans from that corner X coordinate to that corner + 15, and the same for Z. Every single farm, every water channel, every redstone component needs to fit within those 256 horizontal blocks of floor space — though of course you'll be building vertically to maximize that footprint.
The absolute first thing you should do before placing a single block is to mark all four corners of your chunk with visible pillars. Trust me. Nothing is more heartbreaking than spending two hours wiring a redstone circuit only to discover that your observer block is sitting one block outside the chunk boundary.
Designing the Vertical Layout: Floors and Functions
Here's where the magic really begins. A single 16×16 chunk from bedrock to sky gives you a tremendous amount of vertical space to work with, especially in modern Minecraft where the build height extends from Y=-64 to Y=320. That's 384 layers of potential, though of course you won't use all of them. A well-designed 1-Chunk Auto-Farm typically uses somewhere between 8 and 15 dedicated floor levels, each serving a specific purpose.
Here's a tried-and-tested floor allocation that balances practicality with performance:
Levels Y=0 to Y=10 — Infrastructure and Storage: Your hopper networks, chest arrays, item sorters, and the main collection point for everything the farm produces. Keeping storage at the bottom means gravity and water can work with you rather than against you when moving items downward.
Levels Y=11 to Y=30 — Crop Farms: Multiple stacked layers of wheat, carrots, potatoes, and beetroot. Each layer uses a flying machine or observer-based piston harvest system that sweeps the entire farm floor in one activation cycle and dumps everything into a collection channel that feeds downward into your hopper network.
Levels Y=31 to Y=50 — Sugarcane and Bamboo: These grow tall, so you need vertical clearance. A well-designed sugarcane wall can produce extraordinary amounts of paper and sugar with minimal redstone involvement — just observers watching the top block of each sugarcane column.
Levels Y=51 to Y=70 — Mushroom and Tree Farms: Dark rooms for mushroom growth, bonemeal dispensers for accelerated production, and a small automatic tree farm that keeps your charcoal supply topped up for smelting fuel.
Levels Y=71 to Y=90 — Mob Farm or XP Generation: A contained, chunk-aligned mob farm that drops hostile mobs into a kill chamber. This is the trickiest section to align properly within your chunk boundary, but a well-designed kill room with looting swords on a player station or a dedicated automated kill mechanism can generate enormous amounts of resources.
Above Y=90 — Utility and Aesthetics: Composter towers for bone meal generation, a water source management system, and perhaps a nice decorative roof with a glass dome so you can watch the sky from your engineering marvel.
Tiered Farming: Stacking Crops Efficiently
The key to getting maximum output from your 1-Chunk Auto-Farm is understanding crop stacking. You cannot simply place one farm layer on top of another without careful planning, because crops need light, and light travels downward. There are two main approaches the community has settled on.
The first approach uses transparent flooring — slabs, trapdoors left open, or glass blocks — combined with a light source on the ceiling of each layer. This allows you to run multiple farm floors within just a few blocks of vertical space. Using this method, you can fit approximately four or five crop layers in the Y=11 to Y=30 range with proper lighting.
The second approach accepts the limitation and goes for function over density, spacing floors about 5 blocks apart and using glowstone or sea lanterns embedded in the ceiling of each layer. This gives you slightly less total density but dramatically simpler construction and easier maintenance access — something you'll appreciate when that one piston decides to break at 2 AM.
The Redstone Brain: Automation Systems That Actually Work
This is the section most people are here for, and honestly, the redstone design of a proper 1-Chunk Auto-Farm is where the project transforms from impressive to legendary. Let's break down the core systems you need and how they interact.
The Central Clock and Trigger System
Every automated farm in your base needs a timing signal. Rather than building separate clocks for each individual system, a well-engineered 1-Chunk Auto-Farm uses a single master clock located in the infrastructure level that distributes timing pulses to each sub-system through a vertical signal bus.
A reliable master clock for this application is a 5-clock or adjustable comparator clock that outputs a signal every 30 seconds to 2 minutes depending on your farm requirements. From this central clock, you run a signal bus — a vertical column of redstone with repeaters every 15 blocks to maintain signal strength — up through your entire farm structure. At each farm floor, a simple repeater-based branch circuit picks up the signal and triggers that floor's harvest mechanism.
The elegance here is stunning: one clock, one pulse, and your entire farm infrastructure harvests simultaneously. Items begin flowing down through hoppers toward your storage system at the same moment, your collection channels are already running water, and by the time the harvest is complete, everything is sorted and stacked neatly in your chests below.
For the crop harvest mechanism on each floor, the community has largely settled on two approaches. Flying machine harvesters use a back-and-forth sticky piston system to sweep a row of pistons across the entire farm floor, breaking every mature crop and then returning to reset. They're visually spectacular and extremely reliable. Observer-based individual harvesting uses observers pointed at each crop, triggering a piston above or below when the crop reaches maturity. This harvests crops one at a time as they mature rather than in bulk sweeps, which can actually improve throughput on smaller farm layers.
Item Sorting and Storage: The Invisible Hero of Your 1-Chunk Auto-Farm
Nobody talks about item sorting enough. You can have the most beautiful, technically impressive 1-Chunk Auto-Farm in the world, and if your storage system is a mess, the whole project falls apart. Items from six different farm types flooding into a single hopper network will create a jumbled, unsortable disaster unless you build a proper sorting system from day one.
The standard approach in a chunk-constrained build is a waterfall sorter combined with a filter hopper network. Here's how it works in practice:
All items from your farms feed into a single vertical item stream — typically a hopper chain or a water elevator that carries items upward before dropping them into a sorting input chest. From that chest, a comparator-based filter system reads what's in the chest and routes specific items through dedicated hopper minecart filters or traditional hopper-to-hopper filters into their designated storage chests.
In a 16×16 footprint, you can comfortably fit sorting for 12 to 16 distinct item types if you're clever about your chest placement. Double chests arranged in a U-shape around the inner walls of your bottom level, with filter hoppers feeding into them from above, give you tremendous storage capacity while keeping everything visually organized and technically accessible.
One pro tip that the experienced builders in the community swear by: always include an overflow chest at the end of your sorting line. Any item your sorter doesn't specifically recognize goes into the overflow chest rather than clogging your entire system. This single addition prevents the heartbreaking scenario where your farm stops working at full capacity because an unexpected item — maybe a stick from your tree farm — jammed up a hopper chain.
Performance Optimization: Keeping Your 1-Chunk Auto-Farm Server-Friendly
If you're playing on a multiplayer server, you have a social responsibility to the other players sharing that server with you. Farms are one of the single biggest contributors to server lag, and a poorly designed 1-Chunk Auto-Farm can actually be worse than a spread-out collection of simple farms, because everything is running at once in a densely packed redstone environment.
Here are the optimization principles that should guide every design decision:
Minimize always-on redstone. Clocks that run continuously when nobody needs them are pure lag with no benefit. Use player detection — either a pressure plate, a tripwire hook, or a lectern-based comparator signal — to activate your master clock only when a player is present in the chunk. This single change can dramatically reduce your farm's tick load during off-peak hours.
Use hopper minecarts instead of hopper chains where possible. A single hopper minecart running on a rail loop can do the collection work of eight or ten stationary hoppers at a fraction of the processing cost. This is especially important in the collection floor where you have lots of items moving through lots of hoppers simultaneously.
Cap your mob farm output. Your mob farm section should include a population cap mechanism — typically a comparator reading a chest that stops spawning when the chest is sufficiently full. Mobs cost processing power even when they're sitting in a kill chamber waiting to be processed, so controlling the maximum population keeps your TPS (ticks per second) healthy.
Harvest on demand, not on a constant timer. If your wheat farm only needs harvesting once every 20 minutes, don't set your clock to trigger every 30 seconds. The flying machine mechanism moving back and forth constantly for no reason is wasted server processing and wasted machine wear. Match your harvest frequency to your actual crop growth rates.
Building Tips, Community Tricks, and Final Thoughts
The 1-Chunk Auto-Farm community is one of the most inventive corners of Minecraft engineering, and over the years, players have developed a remarkable collection of clever tricks that aren't obvious to newcomers.
Mark everything with signs. In a dense build with 10+ floors of interconnected systems, you will lose track of what does what. Signs on every floor explaining the system, signs on every hopper line explaining the direction of flow, signs on your redstone explaining signal timing — these add zero performance cost and will save you hours of debugging.
Use different colored concrete or glazed terracotta for each floor's function. Visual organization in a dense vertical build is just as important as logical organization. Green for crop floors, blue for water systems, red for redstone floors, gray for storage — whatever system makes sense to you, stay consistent with it.
Document your design before you build. Graph paper, a spreadsheet, or even a creative mode test world — don't start your survival 1-Chunk Auto-Farm without a plan. The constraint of a single chunk means there's no room to improvise your way out of a layout mistake halfway through construction.
Share your builds with the community. Seriously. Post your schematic, share your screenshots, make a YouTube walkthrough video. The 1-Chunk Auto-Farm genre advances because players share their innovations with each other. Every clever solution you discover might be the breakthrough that someone else has been searching for.
Building a complete 1-Chunk Auto-Farm from the ground up is genuinely one of the most rewarding projects Minecraft has to offer. It demands creativity, technical knowledge, patience, and a willingness to plan carefully before you place that first block. But when you step back and watch your little 16×16 empire humming along — crops harvesting, items sorting, mobs dropping, storage filling — the satisfaction is unlike anything else in the game. This is Minecraft engineering at its finest: elegant, efficient, and completely, wonderfully obsessive. Now go grab your F3+G overlay, find your chunk corner, and start building something legendary.
RELATED ARTICLES

How to Make a Book in Minecraft: Easy Recipe & Uses
You're probably here because you just hit a wall — enchanting, writing, or crafting something advanced — and realized you need books but aren't sure how to get them efficiently. Books are one of Minec...
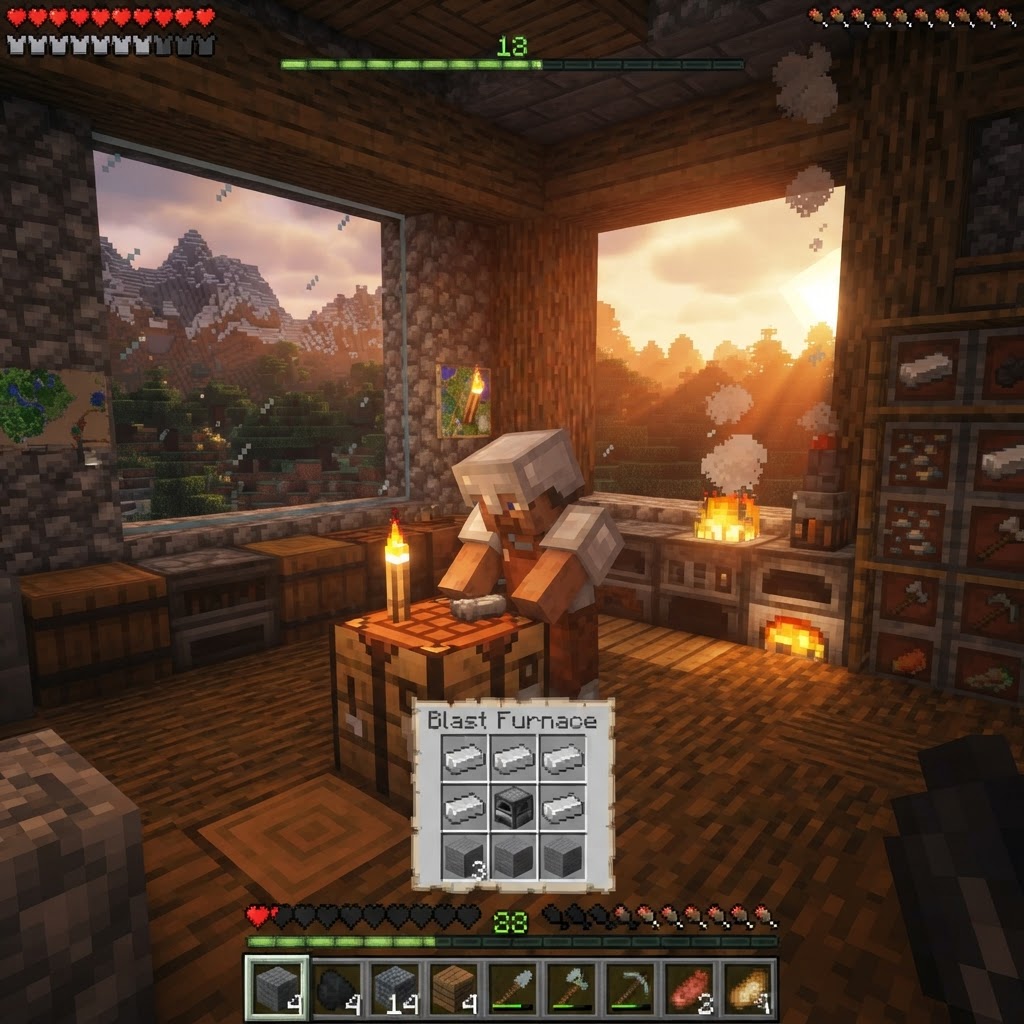
How to Make a Blast Furnace in Minecraft: Recipe & Uses
If you've been manually smelting ores one by one in a regular furnace, you're wasting serious time — the Minecraft blast furnace doubles your smelting speed for metals and ores, making it one of the m...
How to Make a Smoker in Minecraft: Recipe & Uses
If you're tired of waiting forever for your food to cook in a standard furnace, the smoker is the upgrade you didn't know you needed. It cooks food items at exactly twice the speed of a regular furnac...
STAY UPDATED
New blog posts, guides, and community tips delivered to your inbox.
No spam. Unsubscribe anytime.
Comments (0)
No comments yet. Be the first to share your thoughts!