TABLE OF CONTENTS
How to Make a Beacon in Minecraft: Ultimate Crafting Guide
Getting a beacon active is one of Minecraft's most satisfying milestones — but most players stall out because they underestimate what it actually takes to build one. Between hunting a Wither, sourcing rare materials, and constructing the pyramid correctly, there are at least six places this project can go sideways. This guide covers every step in full, so you finish the job in one attempt instead of three.
What You Actually Need to Make a Beacon
Before you mine a single block, know exactly what you're collecting and why each piece matters.
A beacon requires two separate crafting phases: making the beacon block itself, then building the mineral pyramid that powers it. Players who skip the planning stage waste hours gathering the wrong materials.
Beacon Block Recipe (crafting table):
- 5× Glass
- 3× Obsidian
- 1× Nether Star
Pyramid Materials (per tier):
| Pyramid Tier | Blocks Required | Total Mineral Blocks | Active Effects |
|---|---|---|---|
| Tier 1 (3×3 base) | 9 blocks | 9 | 1 primary effect |
| Tier 2 (5×5 + 3×3) | 34 blocks | 34 | 1 primary + regeneration |
| Tier 3 (7×7…3×3) | 83 blocks | 83 | 2 primary effects |
| Tier 4 (9×9…3×3) | 164 blocks | 164 | 2 primary + regeneration |
Pyramid blocks must be one of: iron, gold, diamond, netherite, or emerald. You can mix types freely — netherite and iron work in the same pyramid.
Killing the Wither: The Real Bottleneck
The Nether Star only drops from the Wither, and most players are completely unprepared for the fight.
This is where beacon projects die. The Wither is arguably harder than the Ender Dragon for unprepared players because it actively hunts you, regenerates health, and destroys your terrain.
How to Summon the Wither:
- Collect 4 Soul Sand or Soul Soil blocks from the Nether
- Collect 3 Wither Skeleton Skulls — these are rare drops from Wither Skeletons in Nether Fortresses (5.5% base drop rate, increased by Looting)
- Place soul sand in a T-shape: one block on each side, one center, one on top center
- Place all three skulls across the top row
- The Wither spawns immediately — back away fast
Wither Fight Prep Checklist:
- Full enchanted armor (Protection IV minimum)
- Sword with Smite V (Wither is undead)
- Golden apples or totems of undying
- Bow with Power V for the aerial phase
- Milk buckets to cure Wither effect
- A confined arena if possible (bedrock ceiling in the Nether works perfectly)
- Use a Looting III sword — raises skull drop chance to roughly 8.5%
- Build a farm at a Nether Fortress wither skeleton spawner
- Expect to kill 30–60 skeletons per skull on average without a dedicated farm
- Bring a Fire Resistance potion — wither skeletons deal fire damage
- Glass: Smelt sand in any furnace — completely trivial
- Obsidian: Mine with a Diamond or Netherite pickaxe at lava/water intersections, or use a diamond pickaxe on a ruined portal's existing obsidian
- Nether Star: Non-renewable drop from the Wither boss — you need one per beacon
- Mark your base footprint (9×9 for Tier 4)
- Fill Layer 1 completely — don't leave gaps
- Center each layer above the previous one (each layer loses one block on every side)
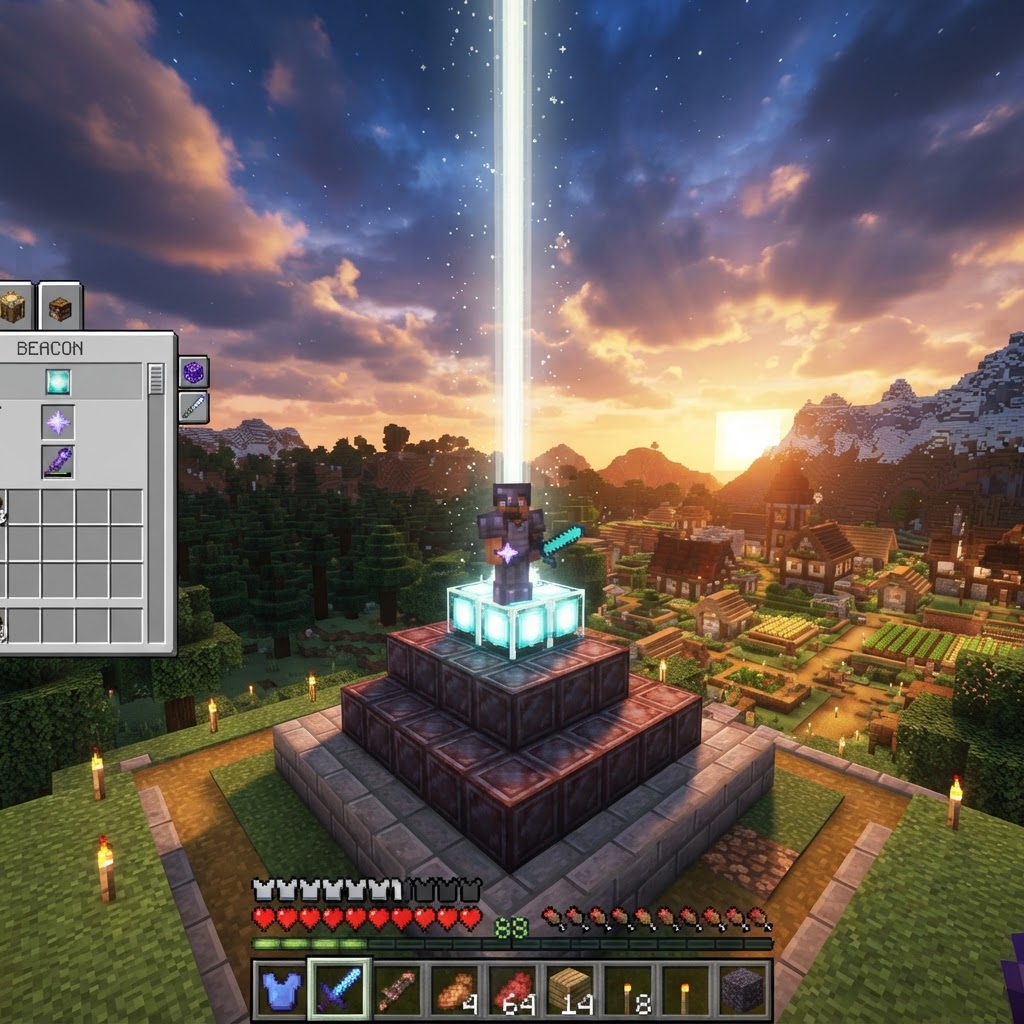
- Place the beacon block in the exact center of the top 3×3 layer
- Confirm nothing is blocking the sky directly above the beacon
- Tier 1: 20 blocks
- Tier 2: 30 blocks
- Tier 3: 40 blocks
- Tier 4: 50 blocks
Wither Skeleton Skull Farming Tips:
Crafting the Beacon Block
Once you have a Nether Star, the actual crafting step takes under 30 seconds.
Open your crafting table and place materials as follows:
```
```
Five glass fills the top row and left/right of the middle row. The Nether Star goes dead center. Three obsidian fills the bottom row. That produces one beacon block.
Material Sourcing Notes:
Building the Pyramid Correctly
The pyramid structure is where players make structural errors that silently break their beacon.
The pyramid is a stepped structure — each layer is 2 blocks wider than the one above it. The beacon block sits on top of the highest platform, and it needs a clear line of sight to the sky (no blocks directly above it).
Layer-by-Layer Construction (Tier 4 Full Pyramid):
| Layer (Bottom to Top) | Dimensions | Block Count |
|---|---|---|
| Layer 1 (Base) | 9×9 | 81 blocks |
| Layer 2 | 7×7 | 49 blocks |
| Layer 3 | 5×5 | 25 blocks |
| Layer 4 (Top) | 3×3 | 9 blocks |
| Beacon Block | Center top | 1 beacon |
Total: 164 mineral blocks for Tier 4
Construction steps for a clean build:
Activating the Beacon and Choosing Effects
Feeding the beacon the right material unlocks the effects — and knowing what each effect does changes how you build.
Right-click the active beacon to open its GUI. Place one of the following in the slot to activate effects: Iron Ingot, Gold Ingot, Diamond, Emerald, or Netherite Ingot. All five work identically — use whatever you have most of.
Effect Unlock by Tier:
| Tier | Primary Effects Available | Secondary Effect |
|---|---|---|
| 1 | Speed, Haste | None |
| 2 | Speed, Haste, Resistance, Jump Boost | None |
| 3 | Speed, Haste, Resistance, Jump Boost, Strength | None |
| 4 | Any two primary effects | Regeneration (can duplicate primary as secondary) |
Effect Range by Tier:
Common Mistakes Players Make
Knowing what goes wrong saves you from restarting a project you've sunk hours into.
1. Fighting the Wither Without Preparation
New players summon the Wither in their base with iron armor. It destroys everything within 20+ blocks before they can kill it. Always fight it either at bedrock ceiling level in the Nether or in a dedicated underground chamber with no valuables nearby.
2. Using Wrong Pyramid Materials
Wool, stone, and wood do nothing. Only iron, gold, diamond, netherite, or emerald blocks count. A surprisingly common error is placing iron ore blocks instead of iron blocks (crafted from 9 ingots).
3. Building the Pyramid with Gaps
Each layer must be completely solid. One missing block in a lower tier reduces the beacon's effective tier by one. Players often realize their Tier 4 pyramid only shows Tier 3 effects because of a single missing block on the base layer.
4. Blocking the Sky Above the Beacon
Building a decorative roof over your beacon to protect it visually breaks the activation. If you want a covered beacon setup, use only stained glass above — it colors the beam without blocking it.
5. Confusing Effect Slots
The beacon GUI has a primary and secondary effect slot. You cannot put two different effects in the primary slot. The secondary slot only unlocks at Tier 4 and only offers Regeneration or duplicating your primary effect at level II.
6. Expecting Infinite Range
Beacon effects are local. If you move more than 50 blocks from even a fully maxed Tier 4 beacon, you lose every effect instantly. Don't rely on a beacon for exploration — it's a base-anchored power-up.
Pro Strategies for Advanced Players
Once you understand the basics, these tactics let you squeeze maximum value from beacon investment.
Stack Multiple Beacons on One Pyramid
Up to 6 beacon blocks can sit on a single Tier 4 pyramid and each one can provide a different effect simultaneously. A 6-beacon array gives you Haste II, Speed II, Strength II, Resistance II, Jump Boost II, and Regeneration II all at once in a 50-block radius. Each beacon still requires its own payment to activate.
Color-Code Your Beacon Beams
Place stained glass (any color) anywhere in the beam's path to change its color. Different colored beams over different mining zones help you visually navigate a large base.
Nether Ceiling Wither Farm
In Java Edition, summoning the Wither just below the bedrock ceiling at Y=127 in the Nether prevents it from flying, drastically reducing fight time. Experienced players kill it in under 20 seconds with a Smite V sword because the Wither can't dodge.
Mixed-Material Pyramids Save Resources
Never build an all-diamond pyramid. Iron is the most renewable of the valid materials (iron farms are straightforward AFK setups). Build your pyramid out of iron blocks and save diamonds for tools, armor, and enchanting tables.
Beacon as a Raid Farm Power Boost
If you operate a raid farm, positioning it within a Tier 4 beacon's radius with Strength II and Regeneration active nearly eliminates the risk of death during raid waves, especially on harder difficulties.
Pre-Activate Before a Boss Fight
If your base is within range of a beacon and you're heading into a Nether Fortress, End, or cave dive, activate Regeneration II on your beacon before you leave. The effect persists until you move out of range — it's not a timer.
Your Beacon Is Worth Every Block
Building a beacon is Minecraft's version of establishing a permanent, passive advantage at your base. The Wither fight is the wall, the pyramid is the cost, and the reward is a game-changing quality-of-life upgrade that compounds across every hour you play after. Nail the Wither fight with proper prep, build your pyramid with zero gaps, keep the sky above the beacon clear, and choose Haste II as your first priority. Do those four things and you'll have a fully operational beacon that most players only dream about from mid-game forward.
RELATED ARTICLES
How to Make a Book in Minecraft: Easy Recipe & Uses
You're probably here because you just hit a wall — enchanting, writing, or crafting something advanced — and realized you need books but aren't sure how to get them efficiently. Books are one of Minec...
How to Make a Blast Furnace in Minecraft: Recipe & Uses
If you've been manually smelting ores one by one in a regular furnace, you're wasting serious time — the Minecraft blast furnace doubles your smelting speed for metals and ores, making it one of the m...
How to Make a Smoker in Minecraft: Recipe & Uses
If you're tired of waiting forever for your food to cook in a standard furnace, the smoker is the upgrade you didn't know you needed. It cooks food items at exactly twice the speed of a regular furnac...
STAY UPDATED
New blog posts, guides, and community tips delivered to your inbox.
No spam. Unsubscribe anytime.
Comments (0)
No comments yet. Be the first to share your thoughts!