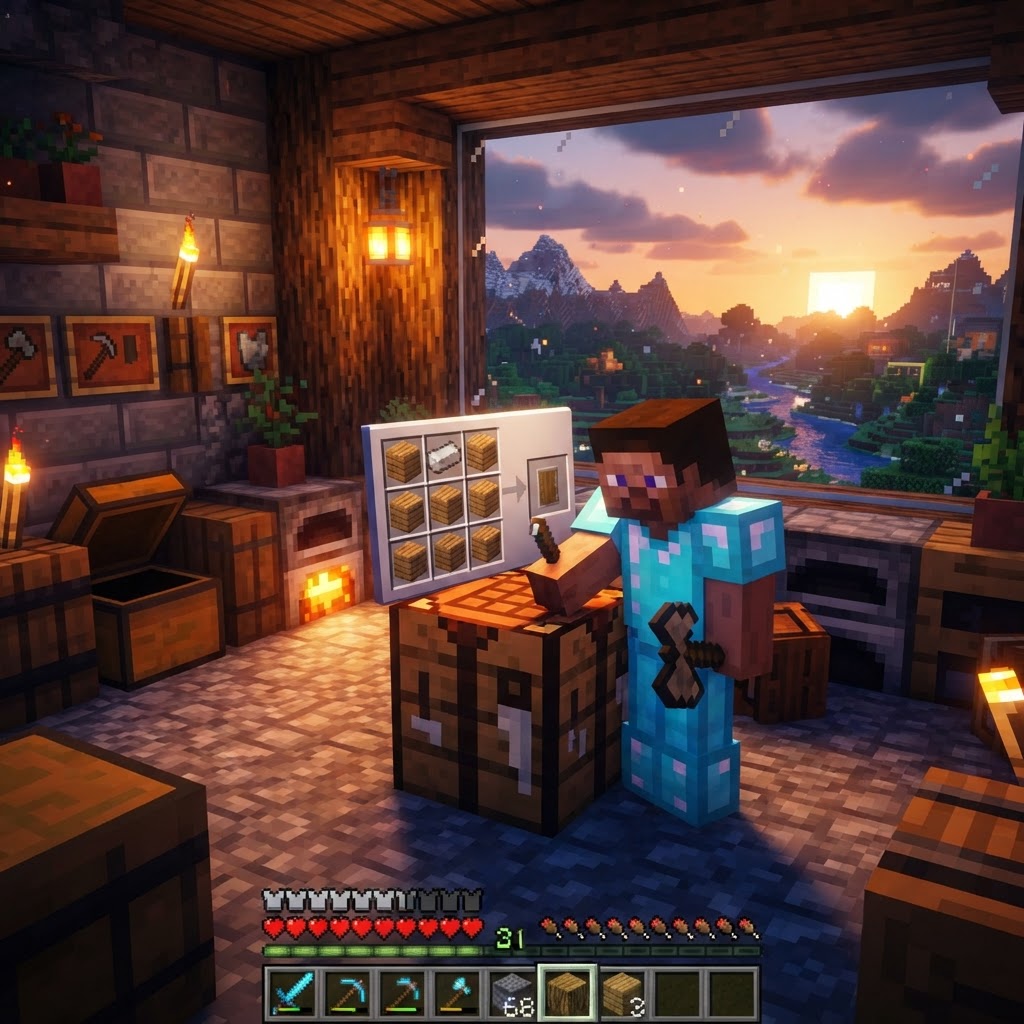
TABLE OF CONTENTS
Minecraft Shield Guide — How to Make, Enchant & Repair
Getting killed because you had no way to block an incoming attack is one of the most frustrating deaths in Minecraft — and it's entirely avoidable. The Minecraft shield is your first real line of defense against arrows, melee hits, and even explosions, yet most players either craft one too late or use it wrong. This guide covers everything: crafting, enchanting, repairing, and the advanced techniques that separate survivors from respawn-screen regulars.
Crafting Your Minecraft Shield
Everything you need to build your first shield, step by step.
The shield recipe is simple but uses specific placement that players often get wrong in the crafting grid. You need exactly six wooden planks and one iron ingot. Any wood type works — oak, spruce, birch, jungle, acacia, dark oak, mangrove, bamboo, or cherry — and you can even mix them freely.
Crafting steps:
- Open your Crafting Table (3x3 grid)
- Place an iron ingot in the top-center slot
- Fill the top-left, top-right, middle-left, center, and middle-right slots with wooden planks
- Place one more wooden plank in the bottom-center slot
- Drag the shield from the result slot into your inventory
The resulting shape looks like an upside-down house outline with iron at the peak. It yields exactly one shield per craft.
Once crafted, place the shield in your off-hand slot (the slot shaped like a shield outline in your inventory screen). On Java Edition, press F to swap items to your off-hand. On Bedrock, hold and drag it there manually.
To block: Hold right-click (Java) or crouch (Bedrock). Your character raises the shield and your movement slows slightly. Blocking is active as long as you hold the button — it's not a toggle.
Shield Materials, Costs & What They Actually Mean
Breaking down what you spend and what you get before committing resources.
The crafting cost is low enough that you should have a shield before your first night. Six planks is nothing — you start the game punching trees. The single iron ingot is the only real investment, and even that comes from smelting a single iron ore.
| Material | Quantity Needed | Where to Get It | Difficulty |
|---|---|---|---|
| Wooden Planks | 6 | Craft from any log | Trivial |
| Iron Ingot | 1 | Smelt iron ore or find in chests | Easy |
| Total Cost | 7 items | — | Very Low |
Compare this to armor crafting costs:
| Gear | Iron Required | Protection Level |
|---|---|---|
| Iron Helmet | 5 ingots | Head only |
| Iron Chestplate | 8 ingots | Torso only |
| Iron Leggings | 7 ingots | Legs only |
| Iron Boots | 4 ingots | Feet only |
| Full Iron Armor | 24 ingots | Full body |
| Shield | 1 ingot | Blocks 100% frontal damage* |
|---|
*When fully raised and blocking, a shield negates 100% of melee and projectile damage from the front. That's an extraordinary value for one ingot. Craft your shield before you finish your first set of armor — it is statistically the most efficient defensive item in the early game.
Enchanting Your Shield
Turning a basic block into a battle-hardened fortress.
Shields can be enchanted using an Enchanting Table or Anvil, but the options are more limited than weapons or armor. Knowing which enchantments actually matter saves you costly mistakes with lapis lazuli and experience.
Shield-compatible enchantments:
- Unbreaking (I–III): Reduces durability loss per hit. Unbreaking III effectively quadruples your shield's lifespan. This is your #1 priority enchantment.
- Mending: Repairs durability using experience orbs you collect. Paired with Unbreaking III, a Mending shield is practically permanent. Found via trading, treasure chests, or fishing.
- Curse of Vanishing: Appears via enchanting table sometimes. Avoid this — it destroys the shield on death instead of dropping it.
How to enchant using an Anvil (recommended method):
- Craft or find an enchanted book with Unbreaking or Mending
- Open the Anvil interface
- Place your shield in the left slot
- Place the enchanted book in the center slot
- Pay the XP cost shown and take your enchanted shield
- Crafting Grid Repair: Combine two damaged shields in a crafting grid. They merge durability but you lose any enchantments on both. Only do this on unenchanted shields.
- Anvil Repair with Planks: Place your shield in the left Anvil slot and wooden planks in the right. This restores durability cheaply without losing enchantments and costs very little XP.
- Mending Enchantment: Automatically repairs when you collect XP. Zero cost, passive. The best long-term solution.
- Skeleton: Block arrows while advancing, then melee at close range
- Creeper: Block the explosion (reduces to zero damage if timed right and facing it)
- Pillager Raid: Shields negate crossbow bolts entirely — essential for raid defense
- Porcupine/Pufferfish: Blocking a pufferfish still triggers poison; shields don't help here
Enchanting Table vs. Anvil for Shields:
| Method | Pros | Cons |
|---|---|---|
| Enchanting Table | Uses lapis, not pre-chosen | Results are random — might get Curse of Vanishing |
| Anvil + Book | Guaranteed specific enchant | Requires finding the right book first |
| Trading (Librarian) | Reliable Mending/Unbreaking source | Costs emeralds, needs village access |
The librarian villager trade is the most reliable long-term source. Reset a librarian's trade by breaking and replacing their lectern until they offer Mending or Unbreaking III.
Repairing & Maintaining Your Shield
Because a broken shield at the wrong moment is a death sentence.
Shields have 337 durability (Java) or 337 durability (Bedrock — same). Each blocked hit drains durability based on damage dealt. A Creeper explosion can chunk a large portion of it in one hit.
Three ways to repair your shield:
For players without Mending, keep a stack of wood planks and a spare Anvil nearby. One plank repairs a small amount of durability — stack several in the right slot for bulk repairs. It's cheap, fast, and preserves your enchantments.
Common Mistakes Players Make With Shields
The errors that get players killed even when they have a shield equipped.
1. Keeping the shield in their hotbar instead of the off-hand slot.
A shield in your hotbar does nothing. It must be in the off-hand slot to function. This is the single most common beginner mistake.
2. Blocking too late.
The shield has a 0.25-second activation delay in Java Edition. You need to start blocking before the attack lands, not as a reaction to it. Anticipate attacks, especially from skeletons who fire at range.
3. Not facing the enemy while blocking.
Shields only protect your front. If a skeleton circles you while you block facing forward, the arrows hitting your side or back deal full damage.
4. Using the shield against Axes.
In Java Edition, an axe attack can disable your shield for 5 seconds. Players who try to block-tank against axe-wielding enemies (like Piglin Brutes or other players) will find their shield suddenly useless mid-fight. Switch to evasion against axe users.
5. Forgetting to repair it until it breaks.
A broken shield leaves you with nothing in the off-hand. Check durability regularly and repair before it hits critical levels. Keep planks on you.
6. Not customizing it with a banner.
This doesn't affect gameplay, but it's a missed opportunity. Applying a banner to your shield in an Anvil gives it your design — useful for multiplayer identification and, honestly, it just looks great.
Pro Strategies: Advanced Shield Techniques
For players who want to use the shield as a skill tool, not just a passive blocker.
Shield + Sword Cycling (Java Edition)
In Java, you can attack and immediately re-raise your shield in rapid cycles. Right-click to block, left-click to swing, right-click again. With practice, you deal damage while maintaining near-constant coverage. This is the core of Java PvP defensive play.
Strafing While Blocking
Holding right-click slows you, but doesn't stop movement. Against ranged enemies like skeletons or pillagers, strafe sideways while blocking and close the gap. You take zero damage from arrows and close distance for a melee counter-attack.
Totem + Shield Combo
Hold a Totem of Undying in your off-hand? Consider briefly swapping to your shield during intense combat and back to the Totem when health gets critical. Experienced players hot-swap between the two based on threat level.
Using Shields Against Specific Mobs:
Decorating for Multiplayer Strategy
On multiplayer servers, applying a banner matching your faction's colors lets teammates instantly identify you in chaotic fights. Set up a banner on an Anvil and combine it with your shield — no durability cost, purely cosmetic, and genuinely useful for organized play.
Conclusion: The Shield Is Non-Negotiable
If you take one thing from this guide, make it this.
The Minecraft shield costs one iron ingot and six planks. That's it. There is no excuse to enter your first night, your first dungeon, or your first raid without one. Craft it immediately, slot it in your off-hand, and never take it out unless you're swapping in a Totem for a boss fight.
Enchant it with Unbreaking III as soon as you have an Anvil and a book. Chase Mending via librarian trades — it transforms your shield from a consumable into a permanent piece of kit. Repair with planks when needed, and never, ever combine enchanted shields in a crafting grid.
Master the 0.25-second activation window. Face your attackers. Watch for axe-users. These aren't complicated skills — they just require awareness that most players never develop because they never read past the basic recipe.
A properly maintained, enchanted, and correctly used shield makes Minecraft's combat significantly less punishing. Now go craft one.
RELATED ARTICLES
How to Make a Book in Minecraft: Easy Recipe & Uses
You're probably here because you just hit a wall — enchanting, writing, or crafting something advanced — and realized you need books but aren't sure how to get them efficiently. Books are one of Minec...
How to Make a Blast Furnace in Minecraft: Recipe & Uses
If you've been manually smelting ores one by one in a regular furnace, you're wasting serious time — the Minecraft blast furnace doubles your smelting speed for metals and ores, making it one of the m...
How to Make a Smoker in Minecraft: Recipe & Uses
If you're tired of waiting forever for your food to cook in a standard furnace, the smoker is the upgrade you didn't know you needed. It cooks food items at exactly twice the speed of a regular furnac...
STAY UPDATED
New blog posts, guides, and community tips delivered to your inbox.
No spam. Unsubscribe anytime.
Comments (0)
No comments yet. Be the first to share your thoughts!